Two 170 Watt solar panels are charging our 250Ah service battery
Also check out our video about installing our solar panels.
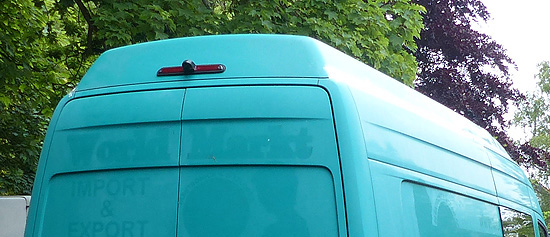
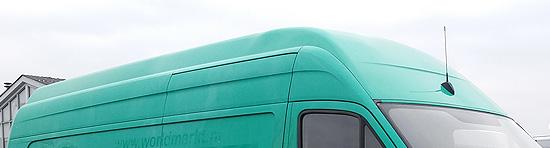
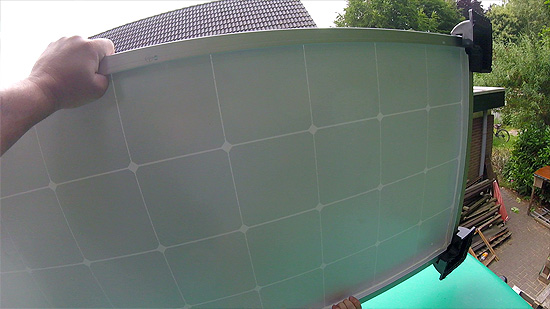
The roof of our Mercedes Benz Sprinter L4H3 van is curved and is made of glassfiber. Somehow we have to manage putting two 170 Watt rigid solar panel on this roof.
We choose rigid solar panels, because these are more durable and of better quality than flexible solar panels in the same price range. Also some flexible solar panels can overheat in extreme temperatures due to the lack of airflow under the panels. Choosing rigid panels is going to be a challenge.
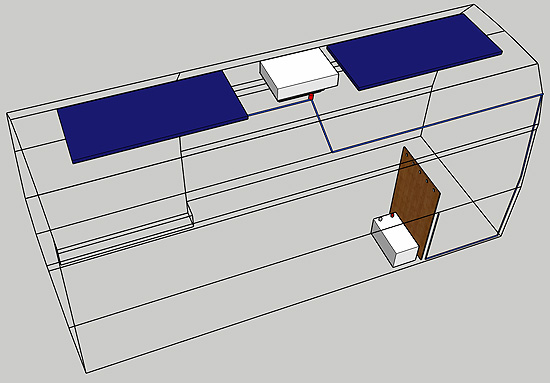
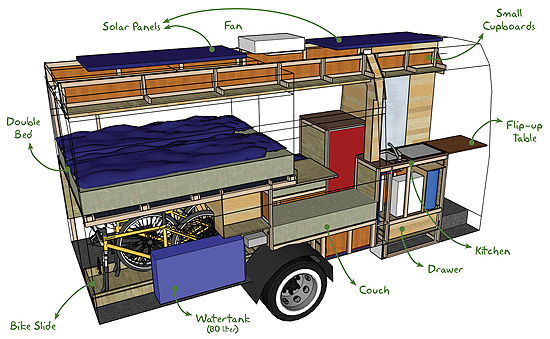
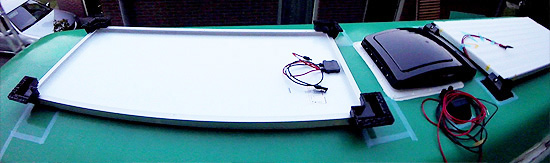
In our design we've calculated it should be possible to install a Maxxfan Deluxe in approximately the center of the roof. And fit two solar panels on both sides. One in the front and one in the back. The dimensions of one solar panel are about 150 cm long by 67 cm wide.
It turned out to be pretty tight, because especially the front of the roof has a more "aerodynamic" form as we accounted for. It was very much curved over a larger length. This would be a tight fit.
We will be mounting the solar panels on the roof using plastic mounting brackets. We don't want to drill any more holes in our roof than necessary, so we will use Sikaflex 252 to secure the brackets to the glassfiber roof.
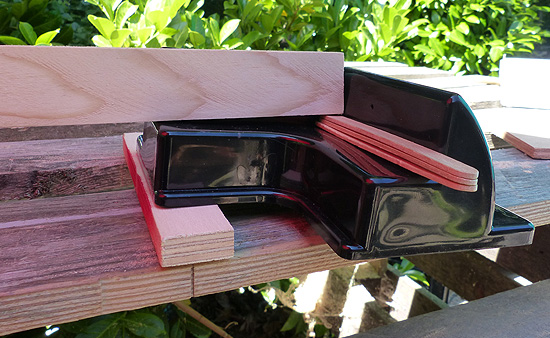
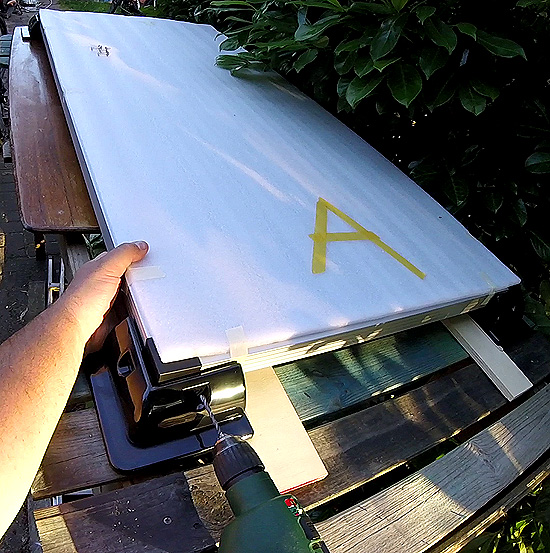
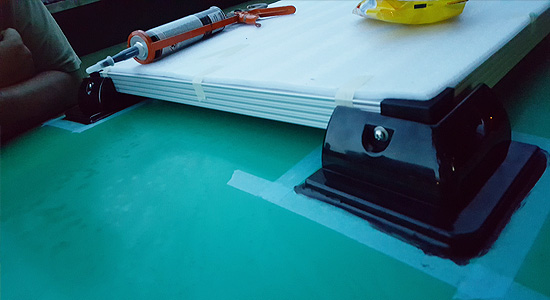
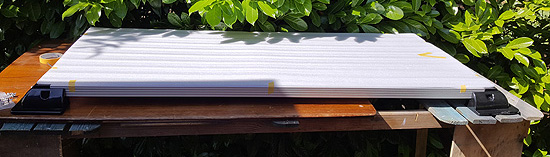
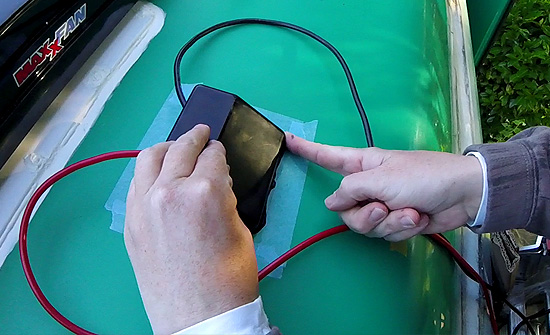
The solar panels installation manual said all the holes from the brackets to the aluminium housing need to be predrilled. So we made a mockup of the angles the panels would be mounted on the curved roof. We had to find a way to make this work.
We eventually decided to predrill the four corner brackets only "lengthwise" and put these screws in loosely. So the brackets could still turn or move sideways. Next we placed the solar panels on the roof and let the brackets naturally follow the curves on the roof.
We would first secure the brackets to the roof with Sikaflex. Only then drill the holes and secured the screws on the sides of the panels.
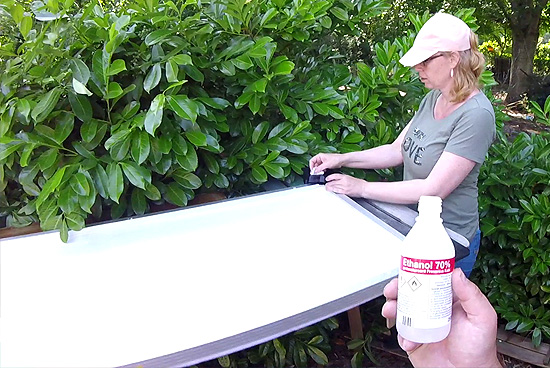
But first we need to prepare the roof and brackets. We cleaned the roof thoroughly especially the locations of the brackets. Around those areas we removed all traces of grease with Ethanol 70%.
The underside of the brackets were shiny plastic. We decided to rough these up by sanding them with 40 grid sandpaper. And then cleaning and degreasing them with Ethanol 70%.
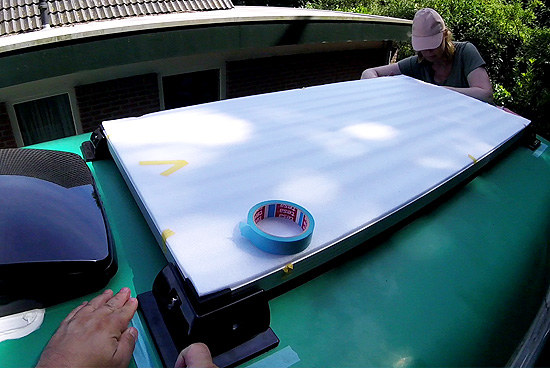
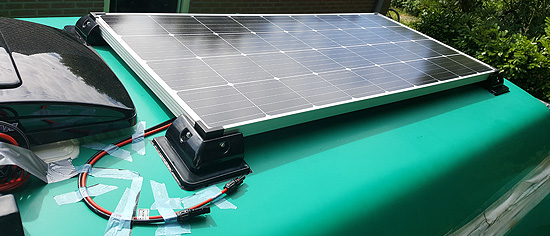
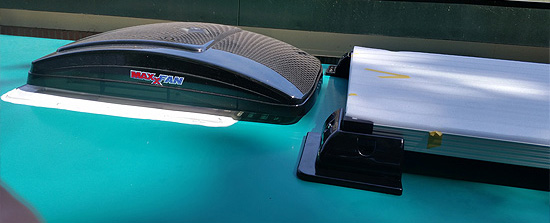
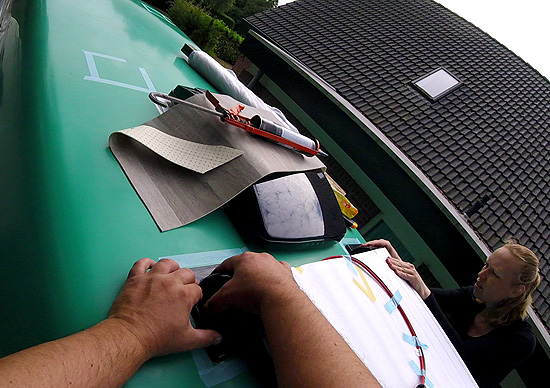
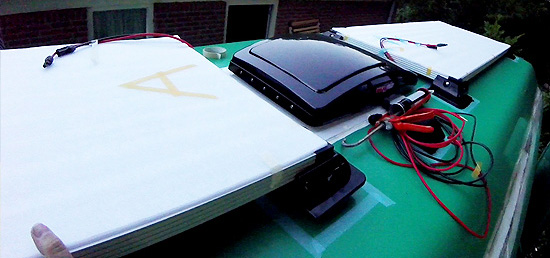
First we install the solar panel at the back of the roof. Then we will work our way to the front of the van. We placed the panel exactly in the middle of the roof and as close to the Maxxfan Deluxe as possible and made sure the fan could still be opened with some room to spare.
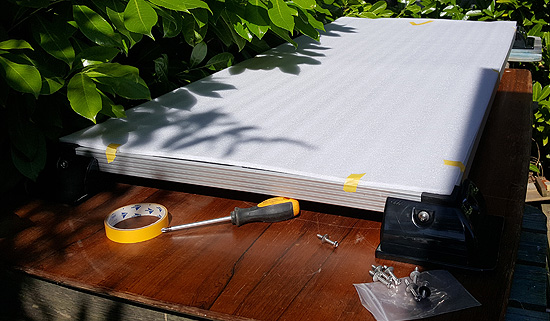
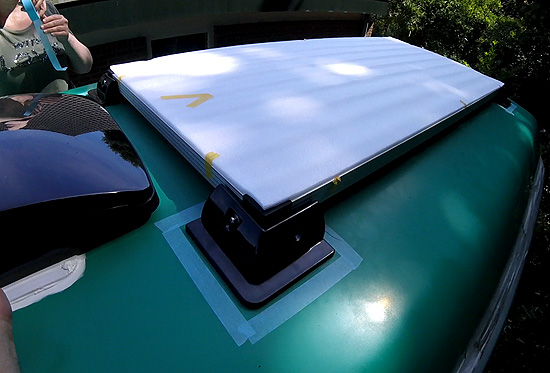
We marked the location of the brackets with masking tape with about 1 to 1,5 cm room around the brackets. So we could easily put the first panel back in place.
We used Sika Aktivator 205 Primer to prepare the surface for caulking the panel in place with Sikaflex 252. This Sika Activator is a bond-activating substance. This pre-treatment agent helps Sikaflex bond to non-porous surfaces, like our glassfiber roof.
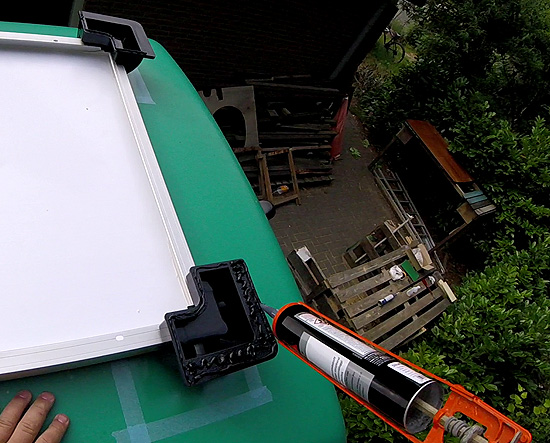
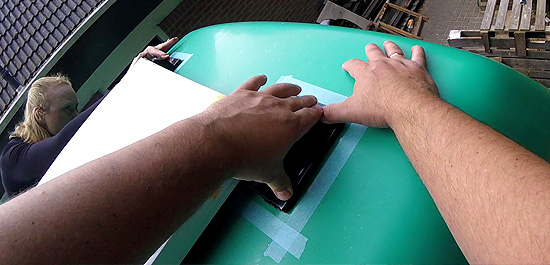
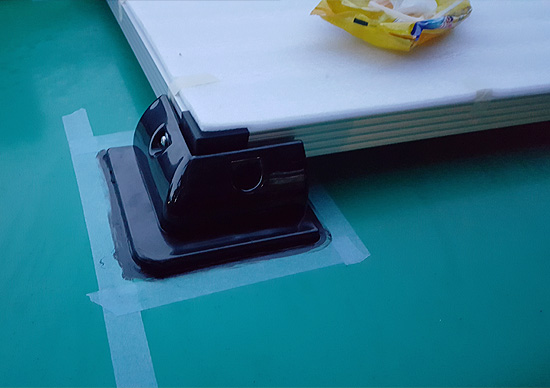
After cleaning and preparing both surfaces, we put the Sikaflex 252 on the brackets with a thickness of about 3 to 5 mm. Standing on both sides of the panel, we turned it around and put it in place.
Then pushing each of the brackets firmly down, making sure the layer of Sikaflex was at least 2 mm thick for the best adhesive effect. We put on latex gloves and with our fingers smoothed out the caulk and applied more Sikaflex there where needed.
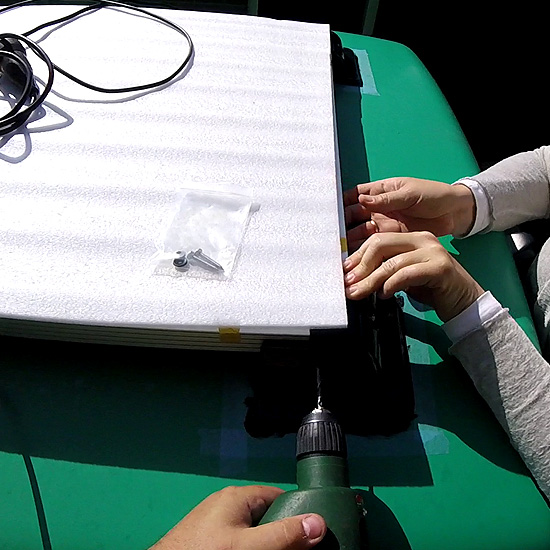
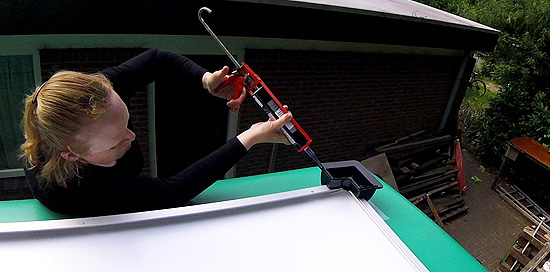
After giving the Sikaflex a night of hardening time, we drilled the holes in the sides of the panels and put the screws in. We had to be careful not to tighten the screws too much, because it would put too much permanent force on the brackets, pulling them from the roof. Those are the challenges putting rigid panels on a curved roof.

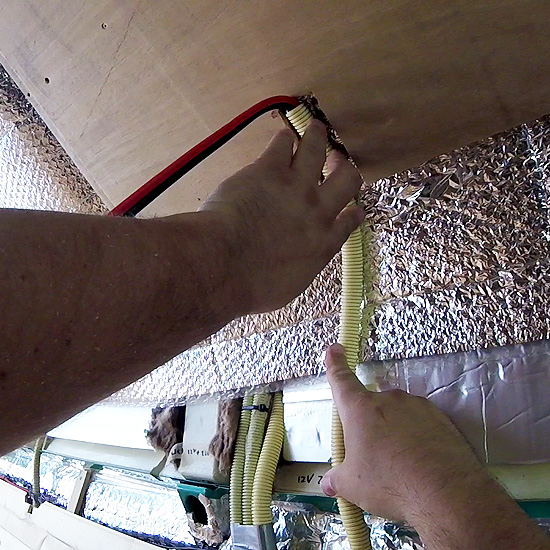
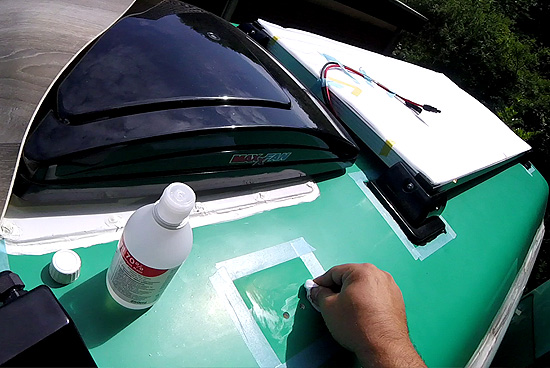
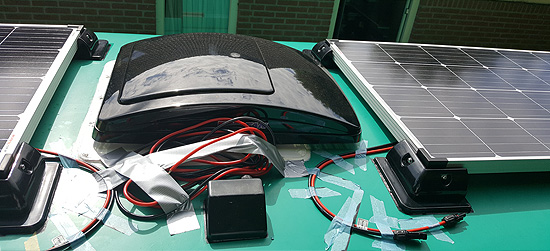
The only two holes we need to drill in our fiberglass roof, are those for the positive and negative cables from the panels to the solar charge controller. We are installing a double cable entry gland to keep this waterproof.
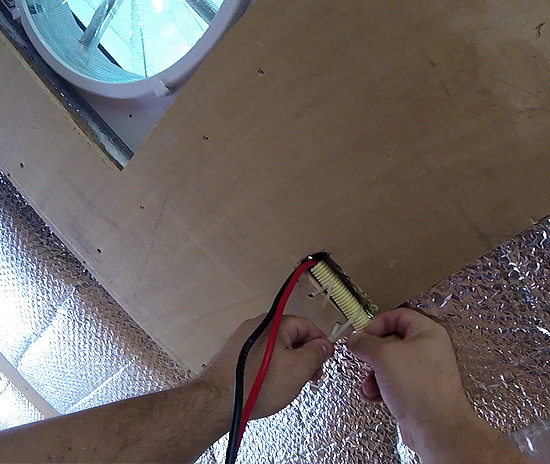
On the inside we ran a Twinflex 6 mm2 cable through flexible electrical tubing through the ribs on the side walls, all the way to our "garage" where our electrical panel is located. See the page about installing the electrical system for more about that topic.
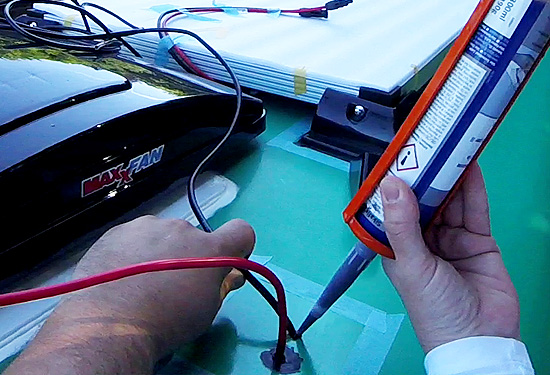
On the roof we cleaned the location of the entry gland and used the Sika Aktivator 205 Primer to prepare the surface. Just to be sure we put in a layer of Sikaflex around the cables entering the roof. Even though these will be inside the entry gland. The more barriers water has to cross before entering our van the better.
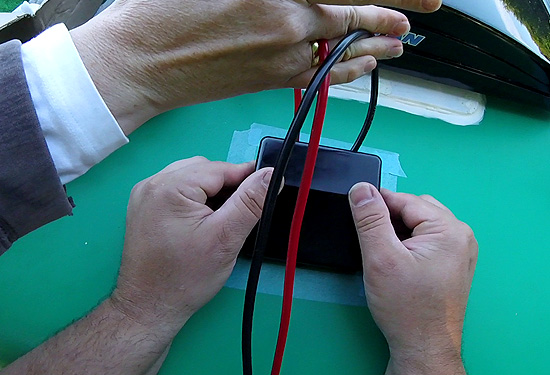
After putting the cables through the holes of the entry gland, the last step is putting Sikaflex on the gland and putting it in place. Again firmly pushing it down, but be sure to leave a layer of Sikaflex of about 2 mm.
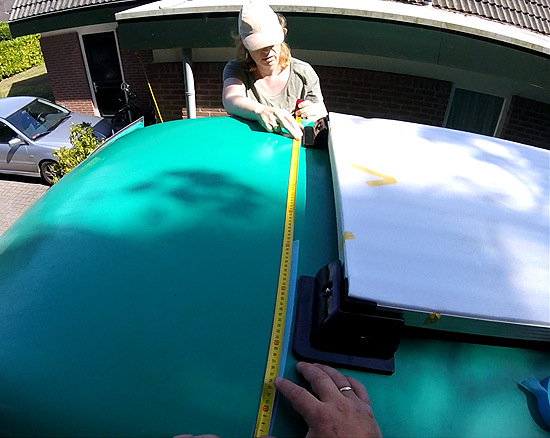
Now we measure the placement of the second panel in the exact middle of the roof on the front of the van. Again placing it as close to the Maxxfan Deluxe as possible. Not in the least because on the front of the panel the roof was already starting to curve down just a bit.
The process is the same as the first panel we did. By the time we had installed both solar panels and the entry gland, the light was fading on this long summer day. We decided to call it a day and let the caulk cure over a few days. Usually caulk needs at least 24 hours to fully cure, so we wanted to be sure to give this time.

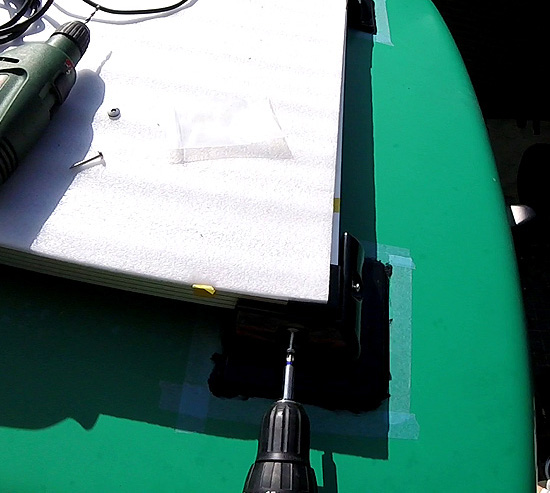
Next step was to put in the screws on the sides of the panels. As described above we only put in the screws in the length of the panels, so the brackets could still move to follow the curved roof.
Now the panels are secured in place, we drilled the holes in brackets through the aluminium frames of the solar panels and put screws in on the sides very very gently. If you put too much force on the screws and thus on the brackets, the somewhat flexible caulk may endure to much stress/force and it could become detached from the roof.
In fact not all was right. We had to put some extra caulk on the front brackets, because as a result of the curving roof even putting the screws in with minimal force caused a few gaps to appear in the caulk.
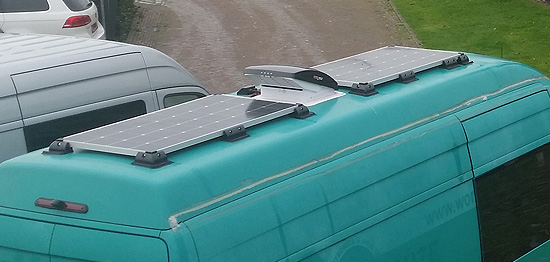
As we wanted to be really sure, we placed two extra brackets on the back solar panel. And four extra on the front panel. As this panel gets all the force of the wind coming up from the bonnet and the curved roof as we're driving. We put two extra brackets in the middle of the panel. And two on the front of the panel, close to the corner brackets. Probably overkill, but better safe than sorry.

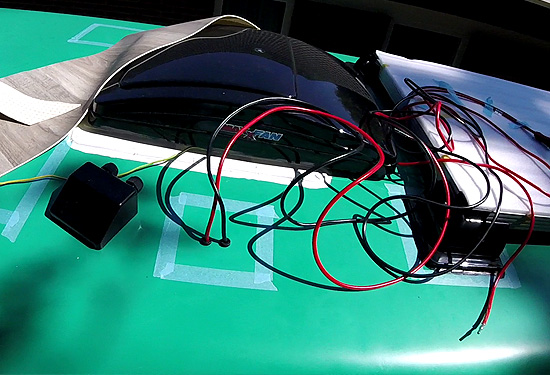
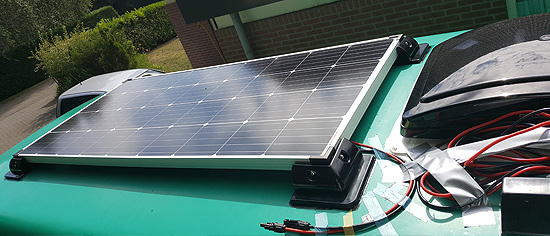
So as you can see in the final result we have two 170 Watt solar panels firmly secured on our curved glassfiber roof, without using any screws or bolts through our roof, to minimize the risk of water leaks.
We have connected the panels in parallel to our CTEK D250SA Battery charger, that also acts as a battery combiner and a solar charger.
This turned out to be so easy that we actually forgot to get footage of this 20 minute job, as the batteries of our camera's were charging at that moment. We actually had a very strict deadline as our holidays were approaching fast and we had to get the camper ready for it's maiden voyage.
Also check out our video about installing our solar panels.