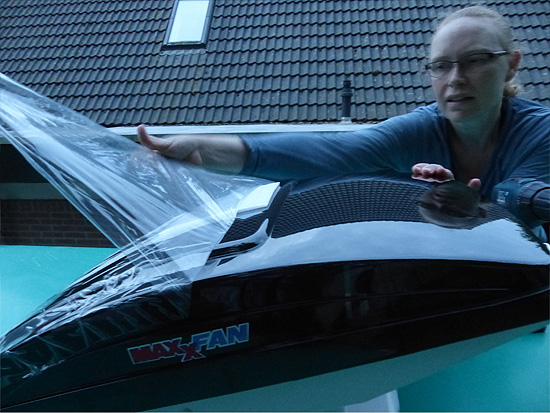
The installation of a MaxxFan Deluxe ventilation fan in our glassfiber roof. Fresh air in all weather conditions.
Also check out our video about installing our Maxxfan Deluxe.
One of the more exciting projects is installing the Maxxfan Deluxe in the roof of our campervan. The Mercedes Benz Sprinter L4H3 has a glassfiber roof and not a metal one. There are a lot of video's on YouTube showing how to install a fan in a metal roof. Not so much in a high top glassfiber roof. So we went into this project with mixed feelings and a well thought out plan.
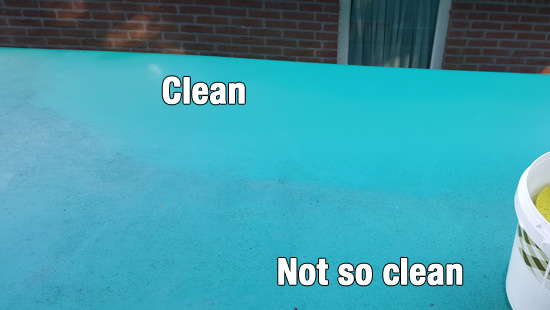
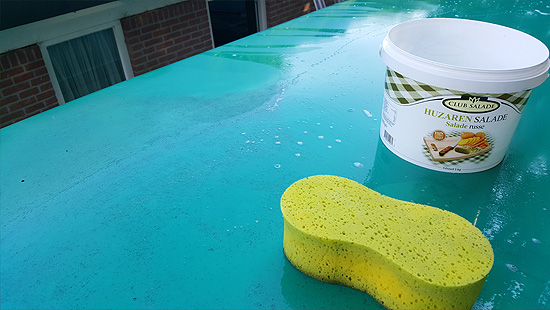
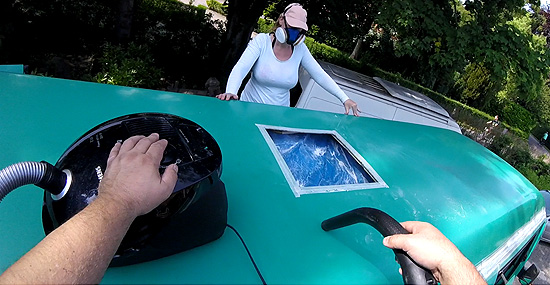
The first thing to do is clean the roof. Our van is parked under a few trees on our property and it hasn't been cleaned in years. This was a tedious job, but rewarding. We actually found out that our roof was actually green as well.
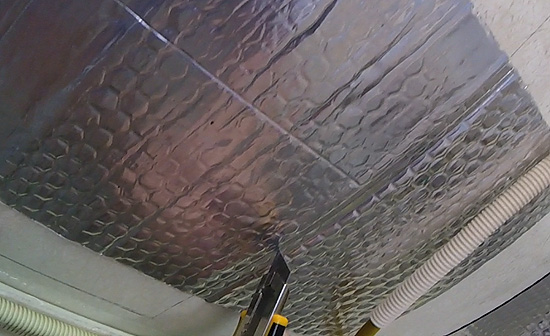
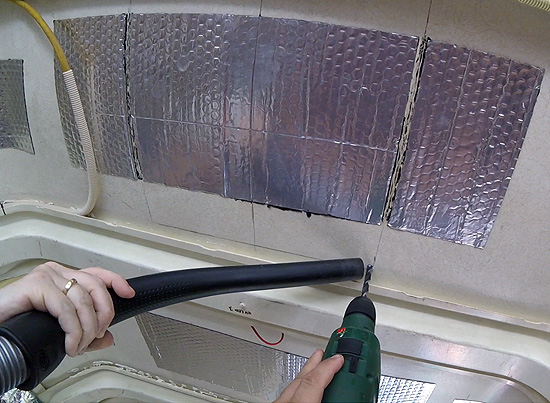
In our design we have two solar panels on our roof. The fan should be places close to the middle of the roof, taking into account the position of the ribs of the glassfiber roof. We measured the exact location from the inside of the van. We had to cut away two strips of the sound deadening material, to be able to cut the hole in the roof.
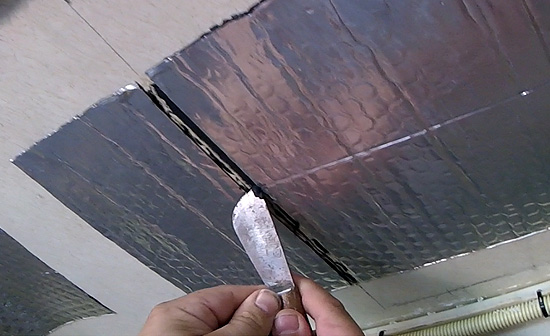
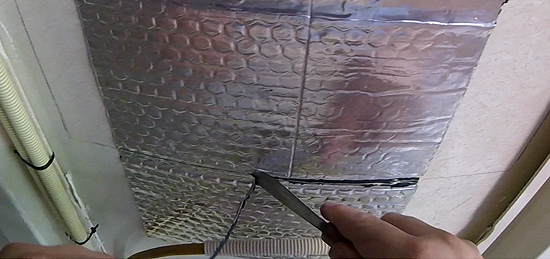
We cut it with a Stanley knife, pulled of the aluminium cover. As it was pretty hot with the sun shining on the roof, the bitumen of the sound deadening was soft, so we had to scraped that of with a putty knife.
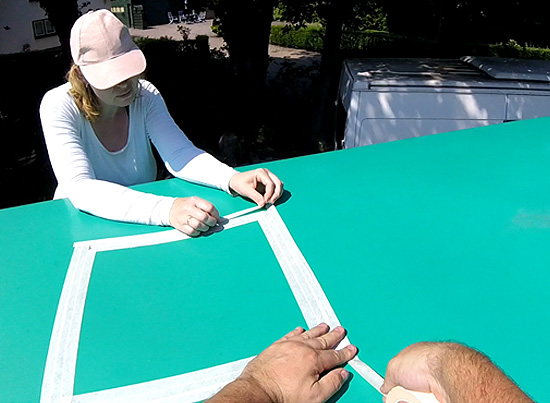
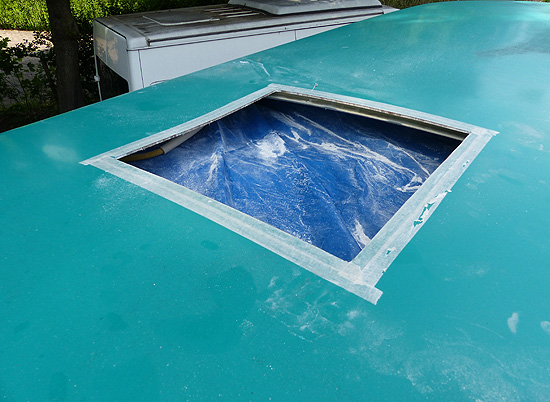
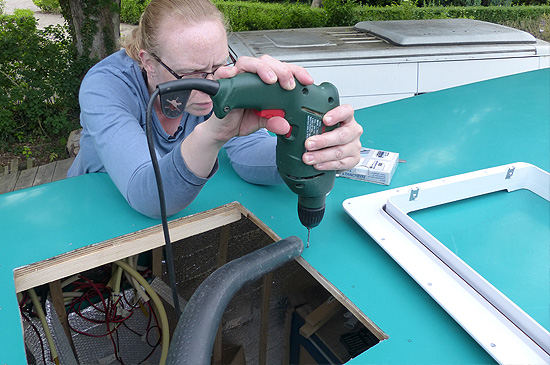
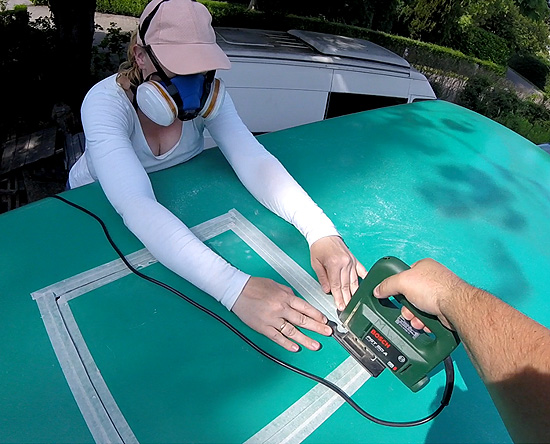
On the inside of the four corners of the 40x40 cm square we drilled 10 mm holes from the inside. So large enough to put the blade of the jigsaw through. On top of the roof we put painter's tape, so not to damage the roof while cutting the hole.
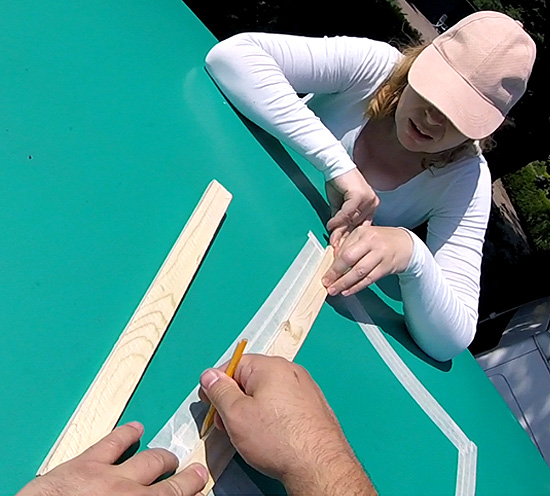
With a pencil we drew lines along the outsides of the holes we just drilled. After double checking every measurements twice we decided it was time to actually cut that dreaded hole in our roof. We used facemasks as protection, because glassfiber dust is not that healthy.
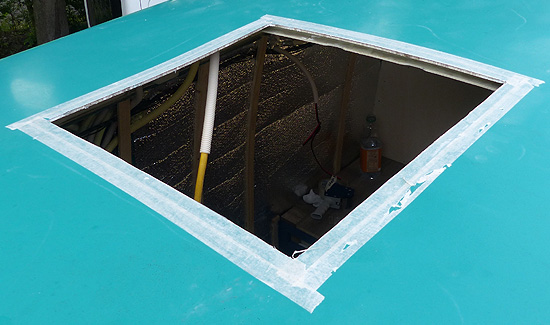
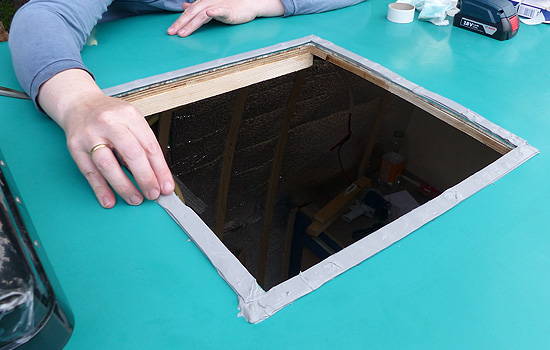
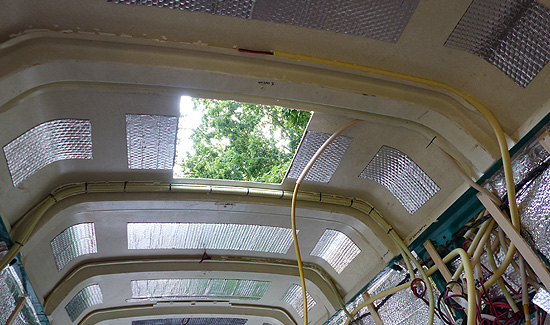
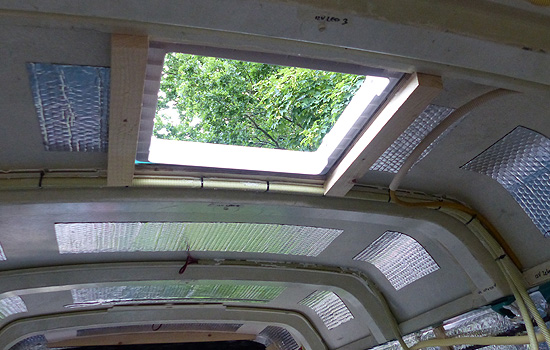
And we taped a garbage bag on the inside of the van, so not to get glassfiber dust all over the inside of the van. We vacuumed the roof, the bag and every nook and cranny in sight. After removing the garbage bag we could see right through our roof. A surreal sight.
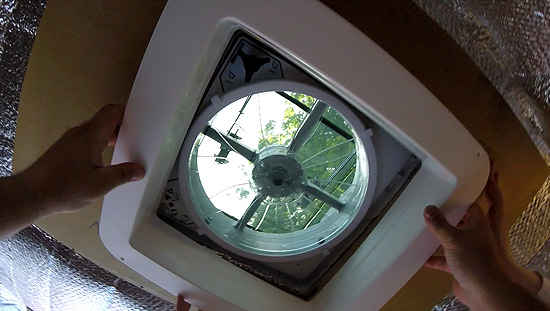
As we expected the glassfiber roof was a bit flexible and wobbly. Especially in this hot weather. It needs to be strengthened, before we can put the actual fan in. You can make a big deal about cutting a whole in your roof, but make sure you have a plan as soon as it's been cut. The faster you can put the strengthening in, the faster you can put in your fan. So we had a plan. But first a test fitting. The fan fit like a glove. That was a relief.
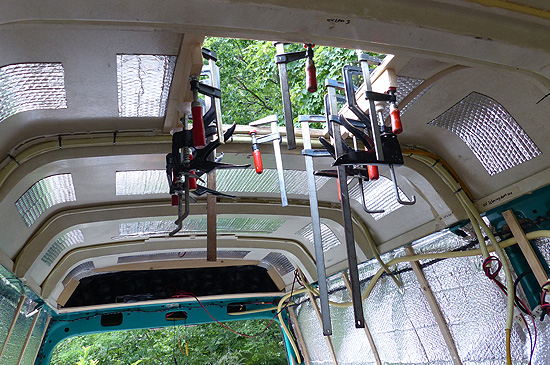
We decided to first put a layer of 12 mm plywood in. It's a square with a 40x40cm hole in the middle, which exactly fits between the ribs of the roof and is exactly wide enough to put extra wooden batten on the sides. We measured and cut it to size before we cut the hole in the roof, so we could glue the plywood in place straight away as to not lose time.
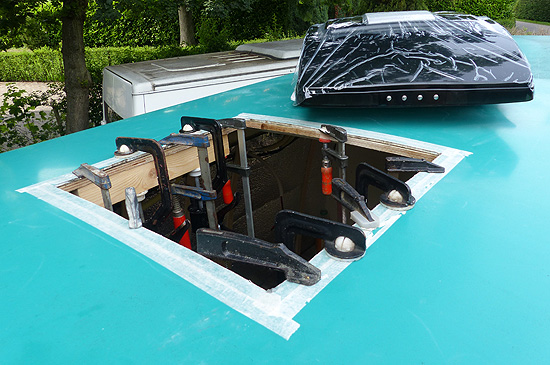
We used universal assembly adhesive/sealant and a lot of glue clamps to make sure everything was tightly in place. In the length of the van we put in two extra battens for extra strength.
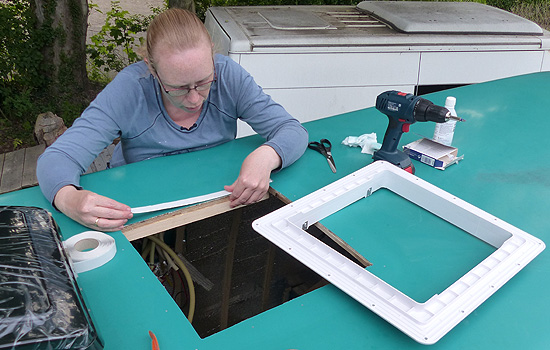
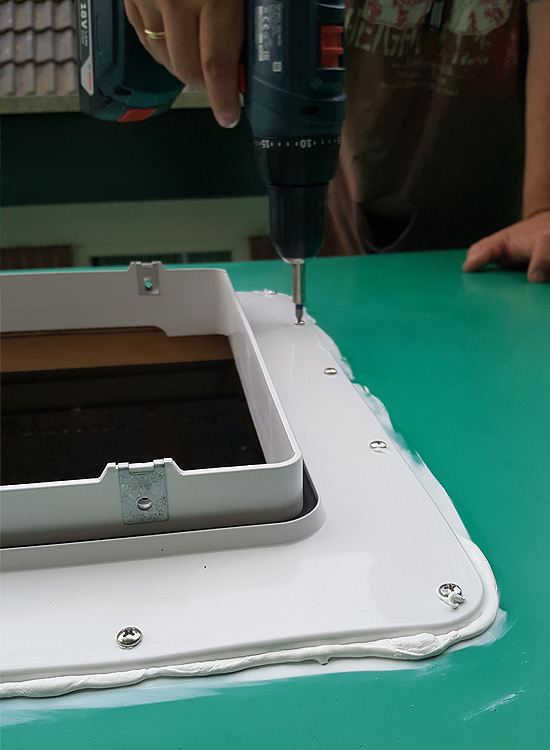
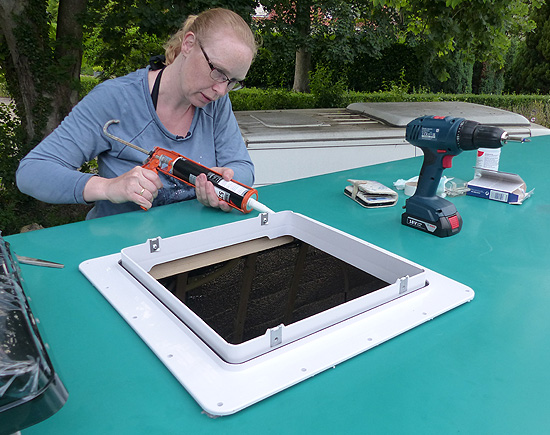
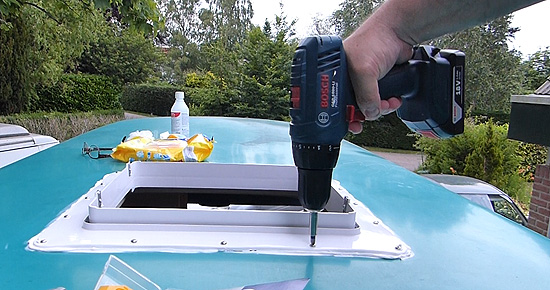
With the roof receiving flange in place we marked all the holes we need to pre-drill. After drilling the holes we cleaned the space around the fan, to remove all grease and dirt.

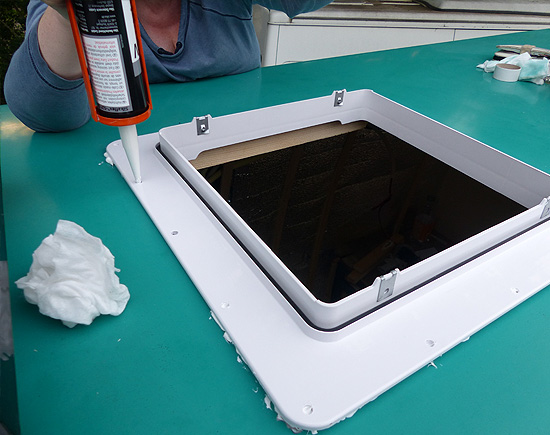
First we put two continuous layers of butyl caulk between the roof and flange as a first step to waterproof the fan. To secure the flange to the roof we applied two continuous lines of Sikaflex 521 around the flange.
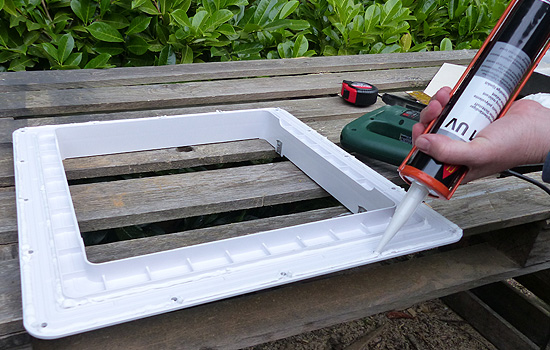
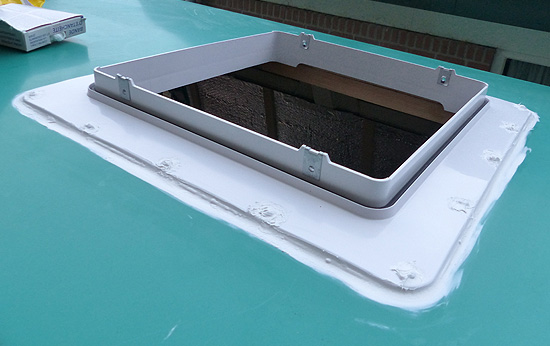
After putting the flange in place we also put some Sikaflex in the screw holes. Then before fastening the flange onto the roof we applied a third layer of Sikaflex under and around the edges of the flange. So in total this means 4 barriers for water to get into the van. This should be absolutely waterproof.
Then after cautiously securing all the screws, we first applied Sikaflex to all the exposed screw heads.
Second we cleaned up the excess Sikaflex around the edges of the flange. Also we made shure the Sikaflex had no holes or uncovered areas.
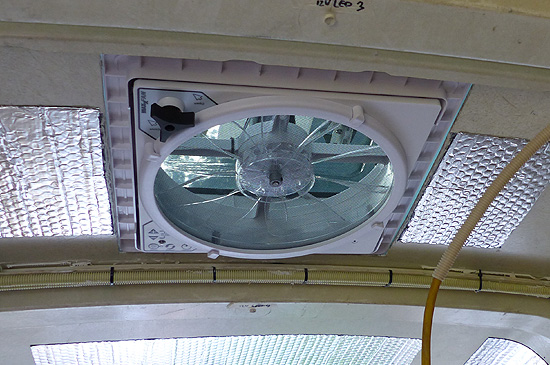
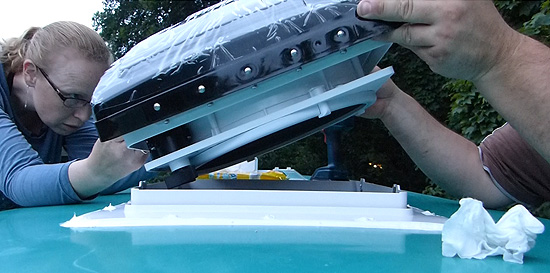
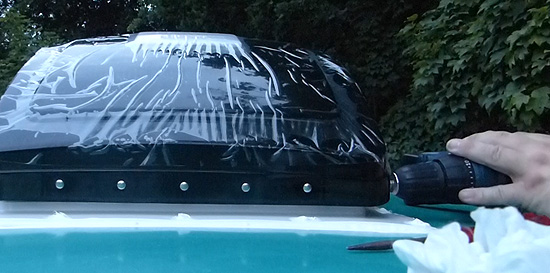
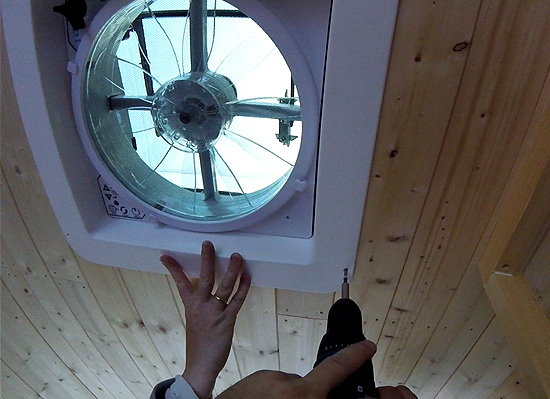
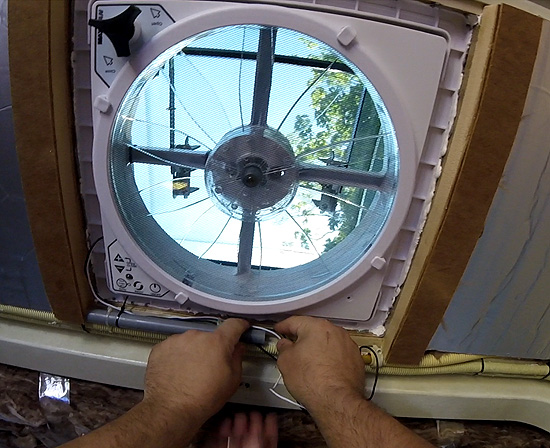
Then it was time to actually put the Maxxfan Deluxe in its place! To place the fan, the lid has to be in the "open" position and the exhaust has to face the back of the van. You also have to make sure that the wires of the fan are not stuck between the flange and the fan.
Then you have to align the four metal mounting clips on the flange with the mounting holes in the fan itself. This took us a while. It was really hard to get the holes lined up properly on all four holes, to get the screws in. We spent at least 15 minutes of shoving, wiggling, pushing and strong language before we got it kinda lined up. We even had to put some of the screws in from an angle, to get it to slide into place eventually, while the screw went in. It was a struggle, but in the end we got it all lined up properly.

Before cutting a hole in the roof and putting the fan in we allready bench-tested it the fan was working properly. The black and white wires coming out of the Maxxfan Deluxe have to be attached to the red and black wires of our electrical installation in the van. Since our elektrical build was not yet finished we did another benchtest after the fan was installed, to make sure everything still worked. And in did.
We didn't want to cut the black and white factory wires of the fan to size, so we installed a small grey left over tube to store the excess wire in. Getting the wires out of the way is esential to fit the interior garnish trim ring on the inside of the van. We did lots of test fittings, to insure the wires were not in the way.
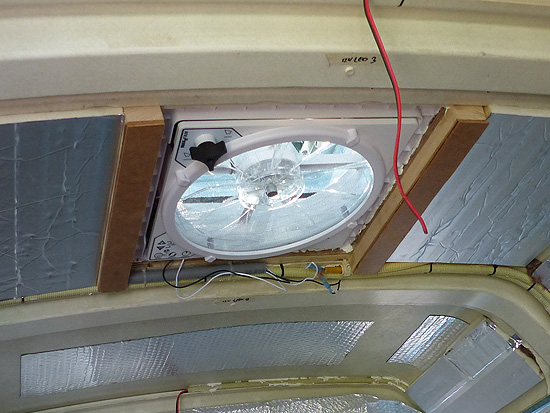
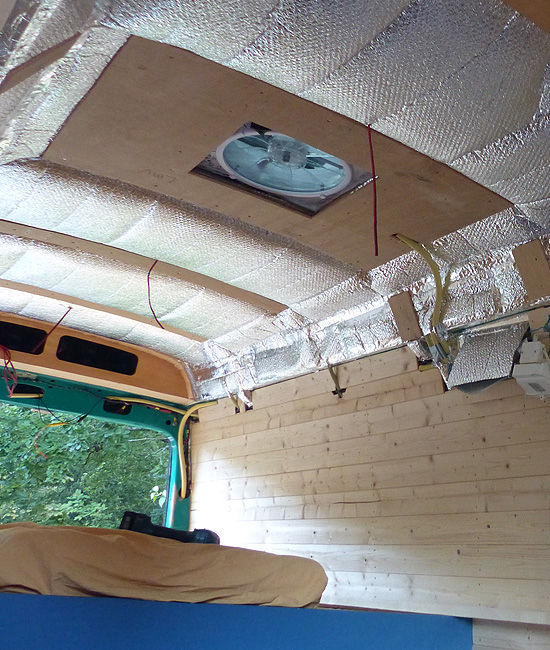
On the two battens on the side of the fan we put two layers of 3 mm MDF board to make these the same height as the surrounding ribs of the roof. We mounted a 9 mm sheet of plywood to have a large area around the fan for extra strength, convenience to secure our roof siding on and have a strady base to install the interior garnish trim ringon. We secured the sheet of plywood on the ribs of the roof and the battens along the fan. The hardest part was getting the foil-faced bubble wrap in place, in between the main roof insulation and the plywood sheet.
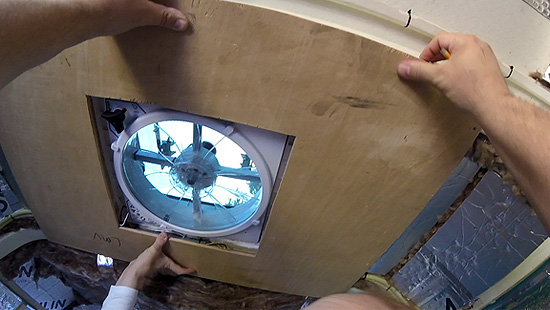
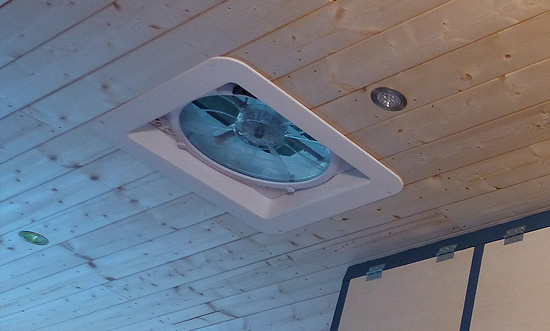
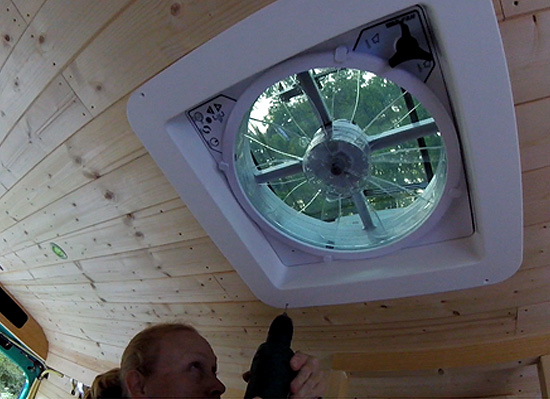
When all the roof siding was installed, we placed the interior garnish trim ring. This was pretty much the easiest part of the installation, as we didn't even have to trim the edges of the trim ring. De distance between the roof and the fan was about 6 cm and the trim ring easily fitted without modification.
It took predrilling the 4 holes in the roof siding through the factory made holes in the side trim and four screws to secure it. So make sure you have the distance between your roof surface and interior siding figured out beforehand, so you are sure the trim ring will fit.
All in all installing the fan wasn't as hard as we expected. Rigourous planning and measuring is required. But as soon as you're prepared and have a plan, you can do the installation of the fan itself in about 3 to 4 hours, including waiting time for glue or caulk. In our experience you'll be installing the fan early in the campervan conversion, so probably you'll do the finishing touches of the project later on in the build. Hopefully this gives you some insight in how you can install your own fan.
Also check out our video about installing our Maxxfan Deluxe.