Building overhead cabinet above our bed, benches, vinyl floor and a dividing wall.
Also check out our video about building our interior.
In this episode of our van conversion series we are showing how we built our interior. Specifically our living space, featuring overhead cabinet above our bed, benches, vinyl floor and a dividing wall between living area and garage.
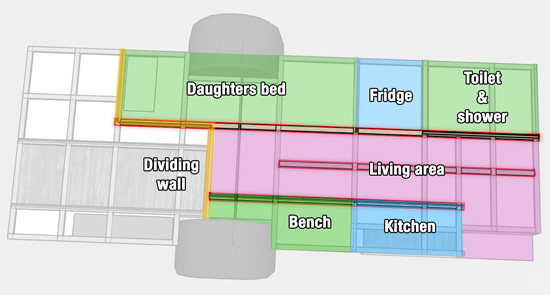
First we're taking another quick look at our design. There are a few specific design choices that impact the way we've built our interior. If you want to know more about our whole design, you can watch our design video, which also takes a detailed look at our electrical system.
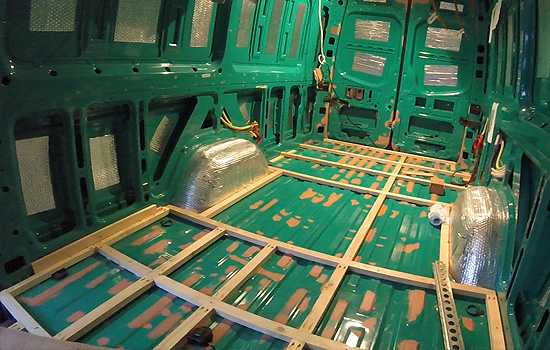
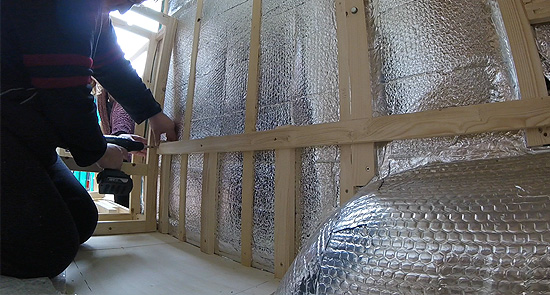
In our design we've determined exactly where we wanted to place the floor beams so we are able to firmly fix our interior to. Using 27 mm high battens we've built a wooden frame, in which pretty much every beam is specifically placed to mount a piece of our interior to. These battens are glued and screwed into the metal floor of the van.
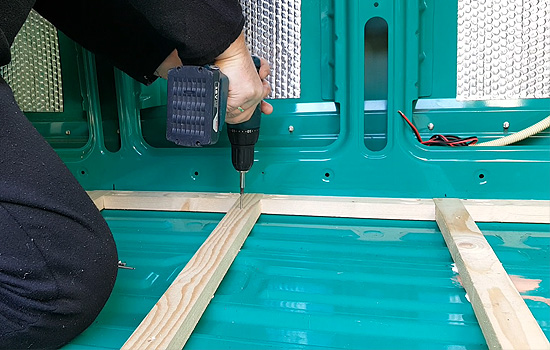
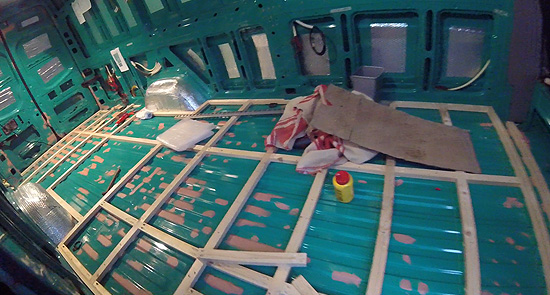
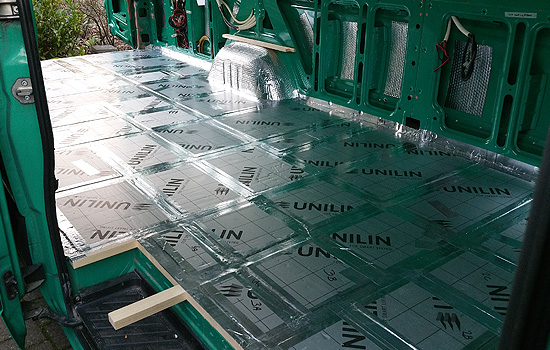
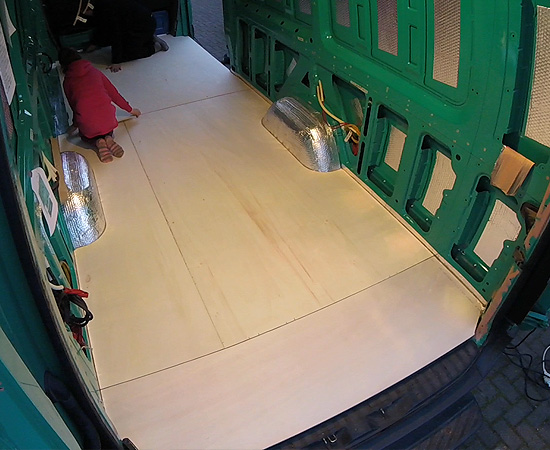
We have insulated our floor, because we will be visiting cold places. The gaps between the battens we fill in with rigid foam boards. On top we put in a 12mm plywood floor. With the 27 mm beams in place and a 12 mm floor plate as the basis for the interior, we have a total of almost 40 mm of wood to mount our interior to.
This long batten along almost the whole length of the van is the most important one in the design. From the front to the back, we will be securing our toilet slash shower, the fridge, our daughters bed and the dividing wall between the living area and garage on this batten. On the other side is the batten our kitchen and bench will be secured to. Where we walk in the camper, we added an extra batten to make the floor stronger.
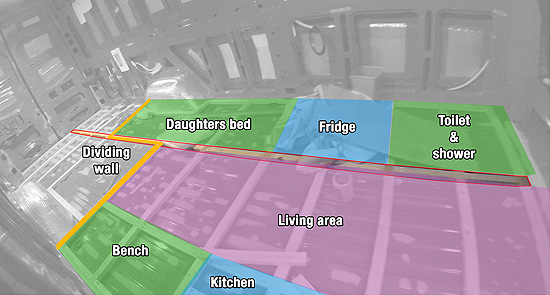
The design we translated to the actual beams in the van. The red outline shows the central batten for the toilet slash shower, fridge, our daughters bed and the dividing wall. As we showed in the design, this batten extends over the entire length of the cargo bay. In the purple part we will be putting extra battens in to strengthen the part of the floor we walk on.
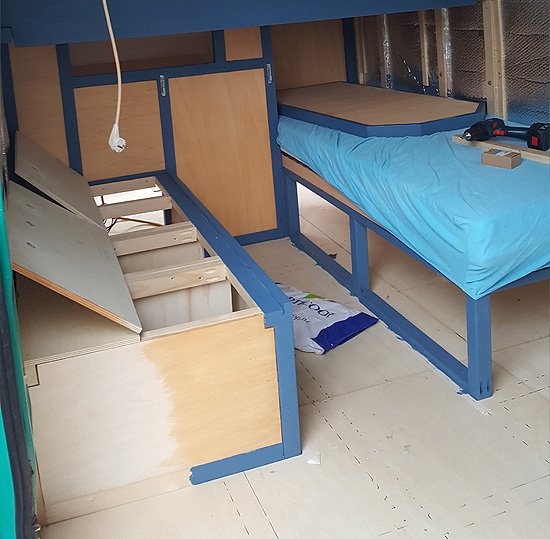
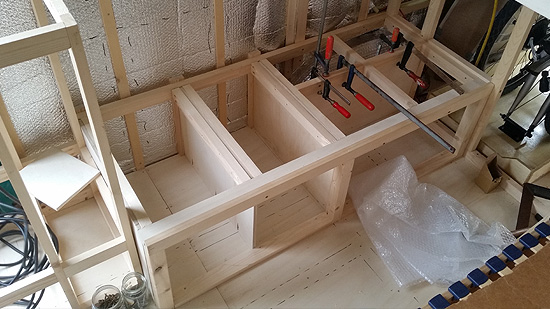
First project is the bench next to the kitchen block. This regular bench has storage accessed via flip tops. On the other side our daughters bed on the right doubles as a bench. This will have under-bed drawers. You can watch our video about building our beds to see how we built our daughters bed.
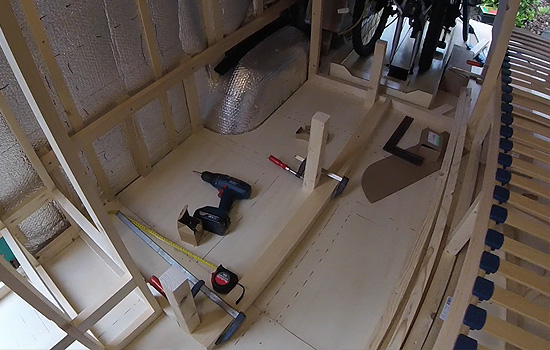
Our strategy, like in our entire interior, was to use a mix of frames and full panels to build the benches. first we secured battens to the walls. We used self tapping screws. When one of those screws won't penetrate the metal, we stay calm and predrill a hole. Then put in a nail with some paint on it's head and push the batten into the nail, so you know where to predrill the hole in the batten.
Against these three battens we secure a horizontal batten, taking into account the height of the 12 mm plywood flip tops to access the storage space. Next we place the three large battens that will form the front of the bench. After precisely placing these we secure them to the floor and the batten underneath.
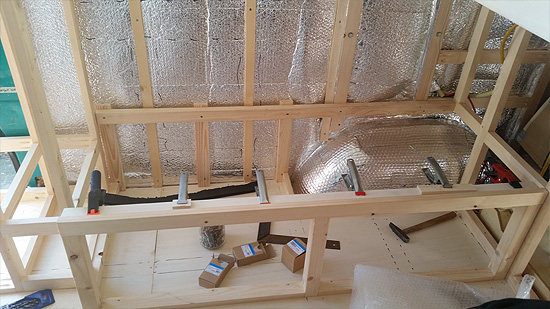
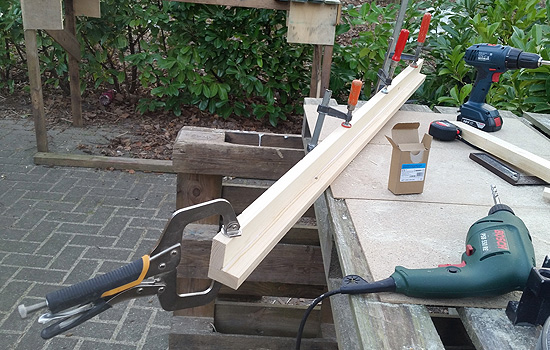
On top we place an L shaped beam, made from two battens we glued together. The flat side is to rest the flip tops on. We put an 12mm plywood strip on this to make the lids precisely fit within the front beam.
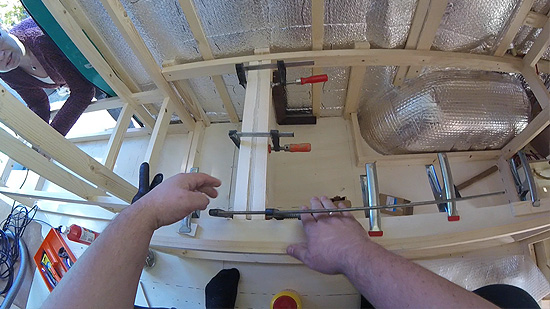
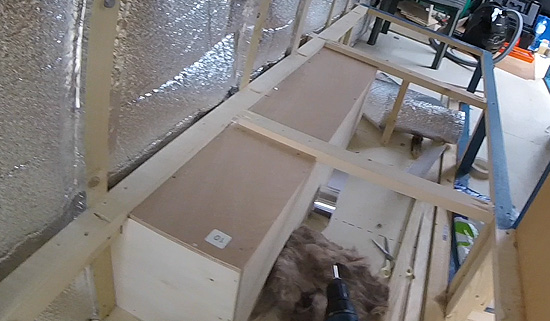
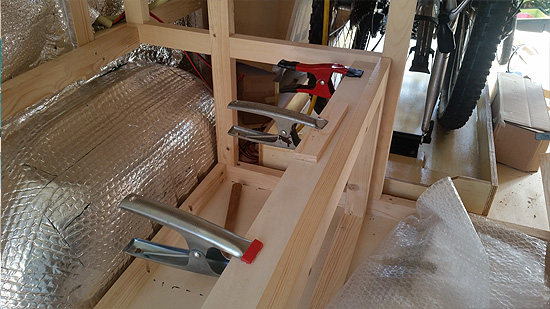
The storage space in the bench we separated into three compartments, which we will access using two lids. So we put in two dividing walls which we strengthened with two battens along the top, to support the lids and make the bench strong enough to sit and stand on. We will be using the bench to get into our double bed, so we will be standing on it regularly.
After building the compartments and putting in all battens for strength, we are not finishing the bench right now. For now we cut a plywood sheet to size to fit on top of the bench. We will be cutting this into lids later on in the build.
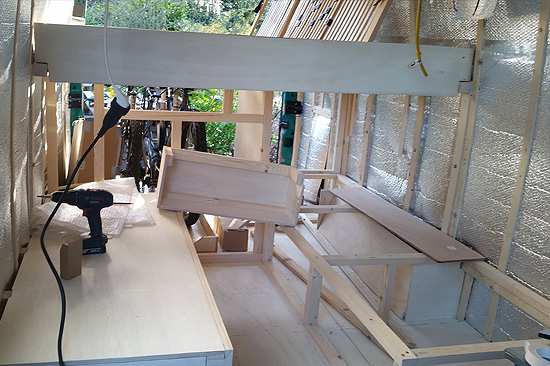
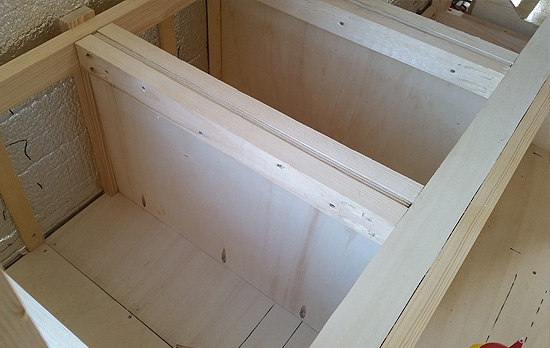
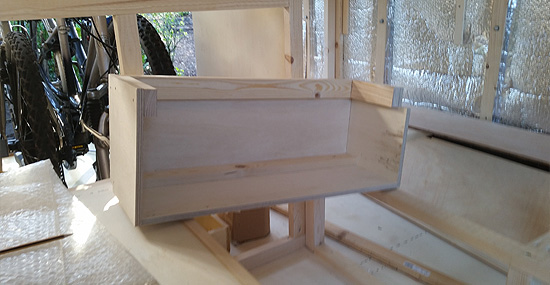
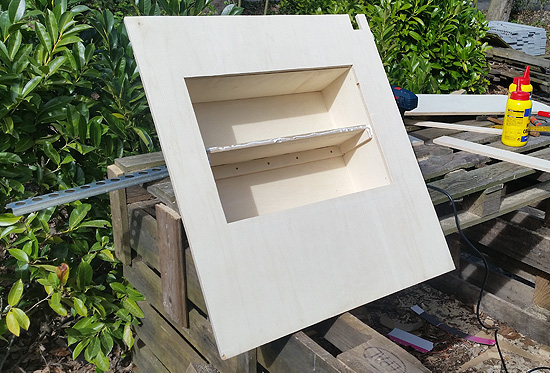
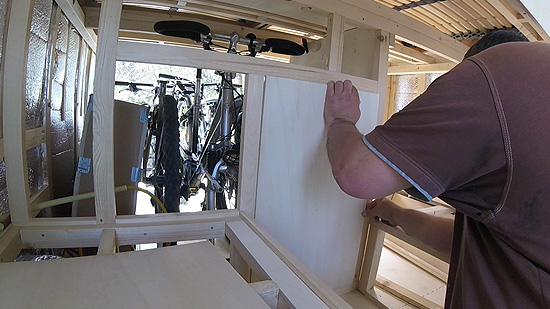
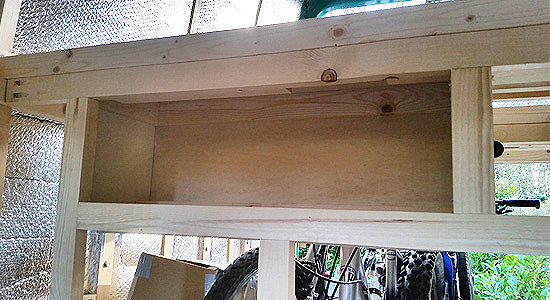
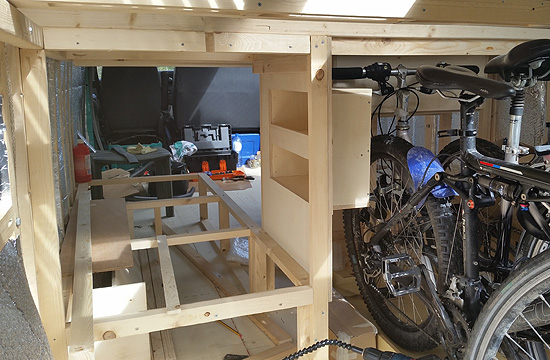
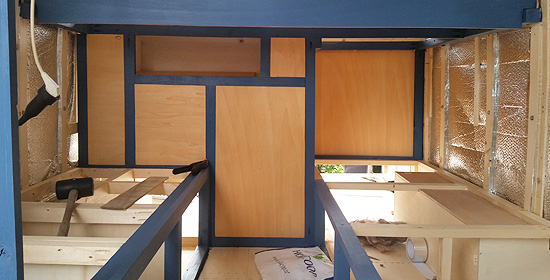
While procrastinating on finishing the bench we also worked on the dividing wall between the garage and the living area. Here too we made a frame which we will fill in with plywood panels. And we put in two extra storage spaces. One is going to be situated above the wheels of our mountainbikes in the garage. This was unused space, so we decided to use every space we could as storage. Second we made a small built-in cabinet for inside our daughters bed, where she can put her clothes and other stuff.
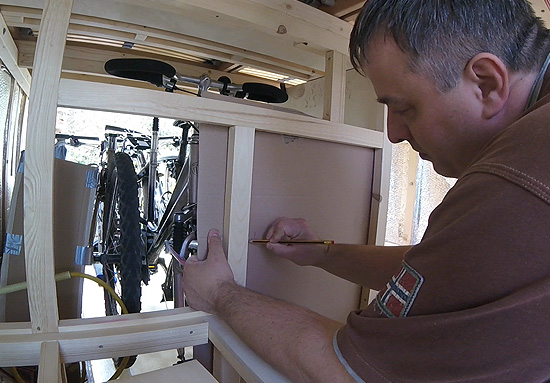
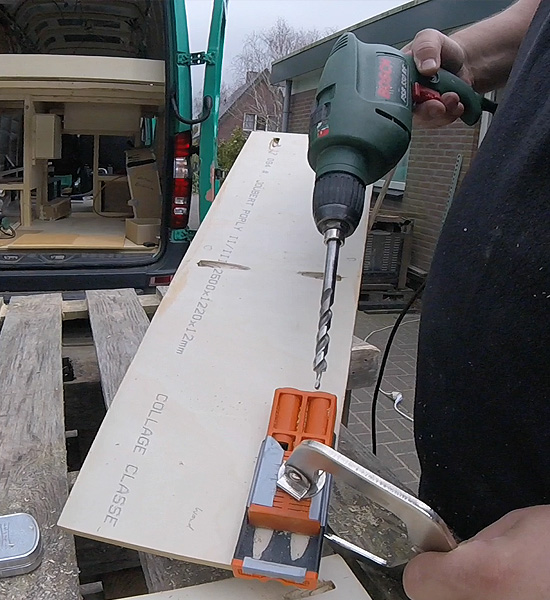
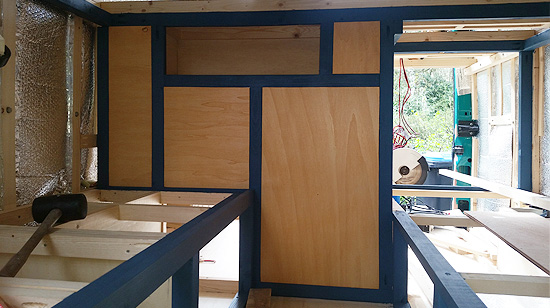
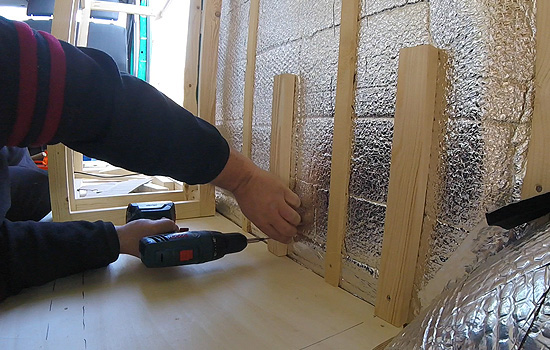
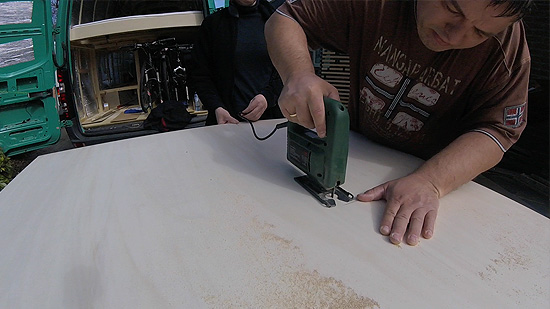
Next is cutting the panels of the dividing wall. We used cartboard to make templates for the panels. Then we cut them with a sigsaw. We used our pocket hole jig to drill the holes on the ends of the panel, to secure them in the frame. Even though the templates were pretty accurate, we had to slightly cut and sand the panels down on quite a few edges to make the panels fit exactly into the frame. Eventually we got them all in with a tight fit.
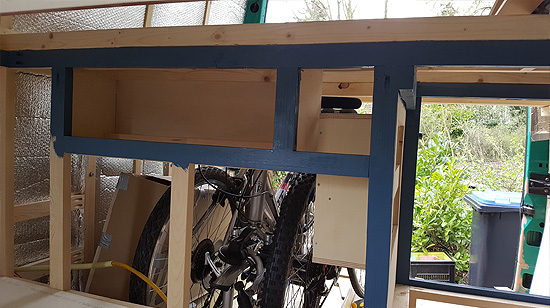
In between finishing the panels we painted the frame in our chosen blue color. The plywood panels we will be giving a natural and mildly wood-stained look. We treat them with two layers of a semi-transparent wood-stain in a light brownish/yellowish color. This gave the surface a nice warm color while emphasizing the natural wood grain.
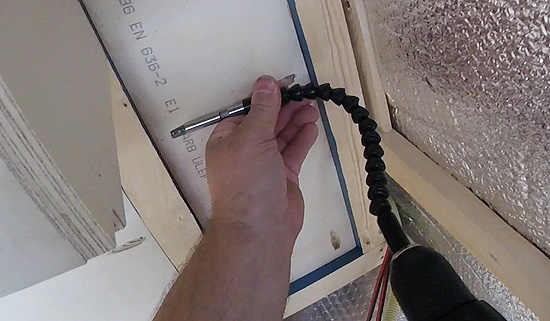
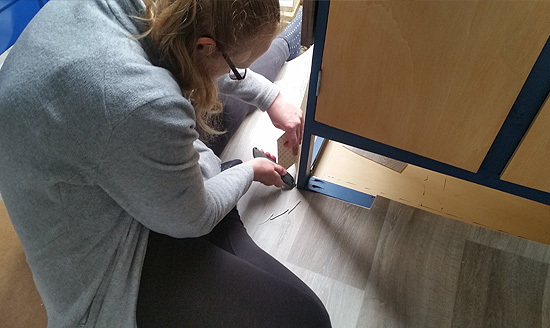
From the garage side of the dividing wall we secured the panels with screws. Especially in the small spaces and narrow corners getting the screws in was a challenge. We were very glad to have our Flexible Angle Extension Kit for our Drill. This has saved us in many tight spots getting screws into the most inaccessible places.
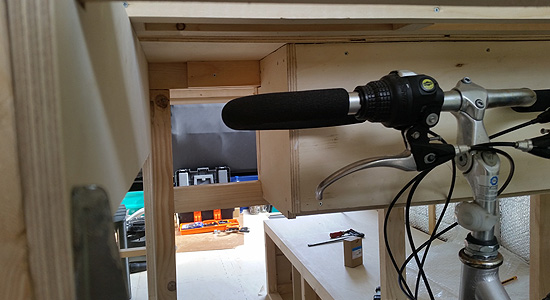
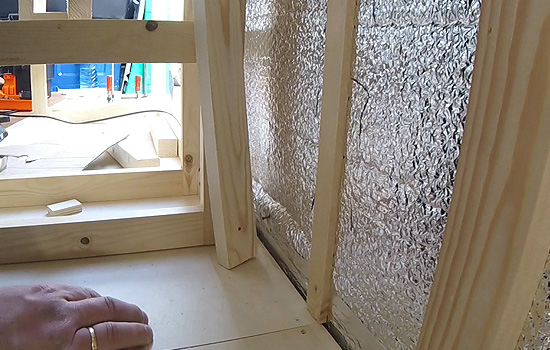
The easiest was placing the last panel on the end of our daughters bed. Notice we allow airflow from the living area to the garage via the space under our daughters bed.
From the garage side of the dividing wall we also applied acrylic sealant to the seams around the panels to stop light shining through. .
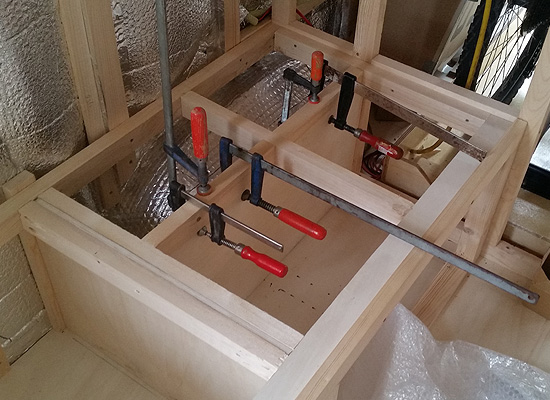
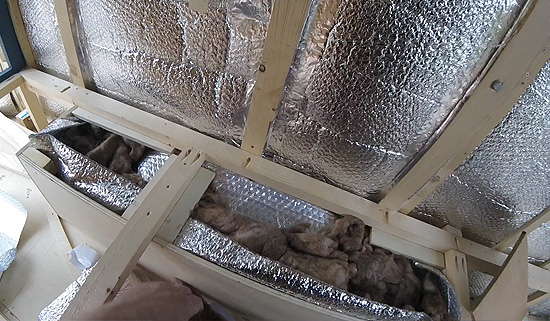
We built plywood boxes around both wheel wells and put extra insulation in there. The wheel well under our daughters bed we did first. We filled it with rockwool and sealed it off with reflective foil. The seams we taped with aluminium tape. Second we did the wheel well under our bench.
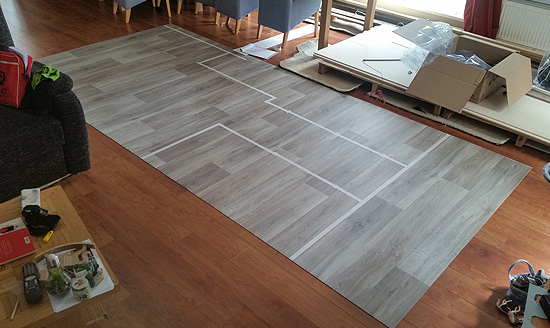
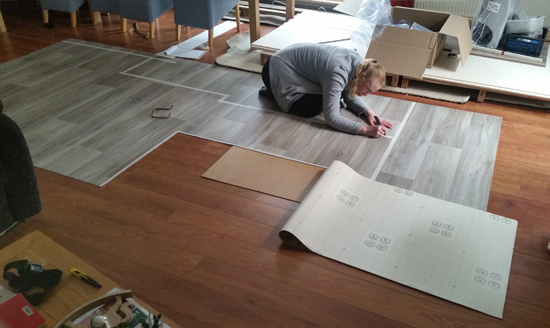
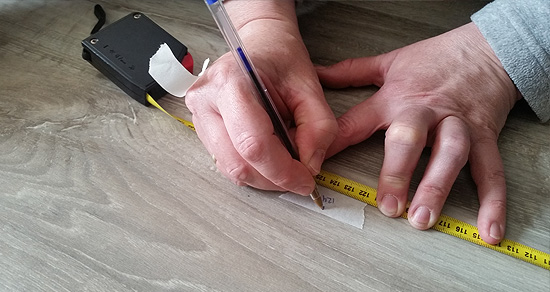
It was also time to put in a vinyl floor. To save weight and money we only put the vinyl floor in the spaces we actually walk. We bought a left over piece of vinyl floor at a store, that was just big enough to fit. In our living roof we first measured the shape the vinyl floor will have in the van. We marked the lines with paper tape, so we don't leave any marks on the vinyl itself.
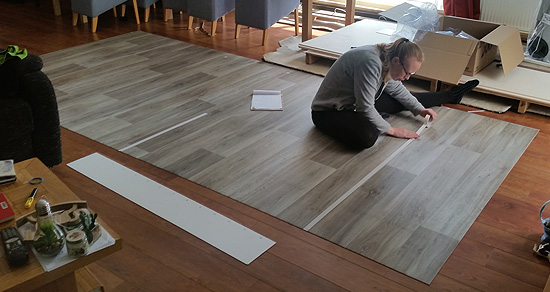
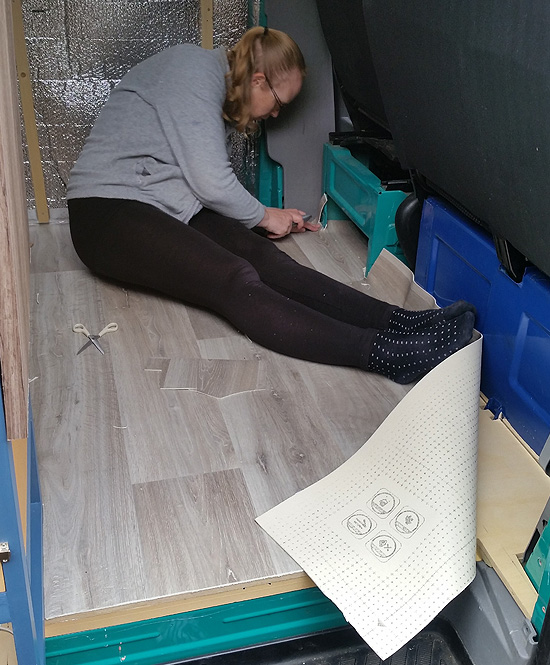
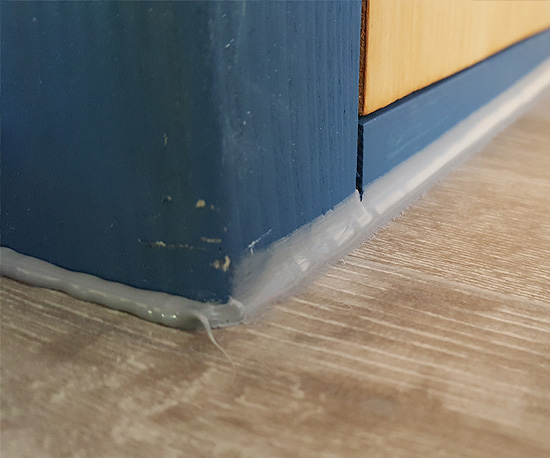
We roughly cut it to size with at least 10 centimeters of extra fabric on all sides. We then put the vinyl in place in the van. It was a tedious process cutting it exactly to size with a Stanley knife in all the little corners. In the end it was a tight fit but it looks really good. We haven't taped the vinyl to the floor. We only used silicon sealent on the edges.
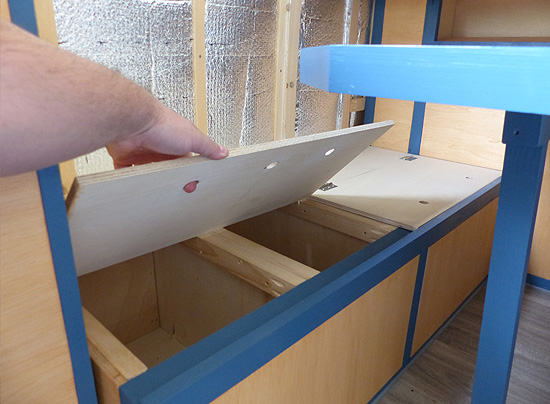
After insulating the wheel wells and putting in our vinyl floor we finished the lids of the bench. We cut the plywood sheet into two lids that can be opened separately. Just two simple hinges and two holes in the lid to open them up to access the storage space.
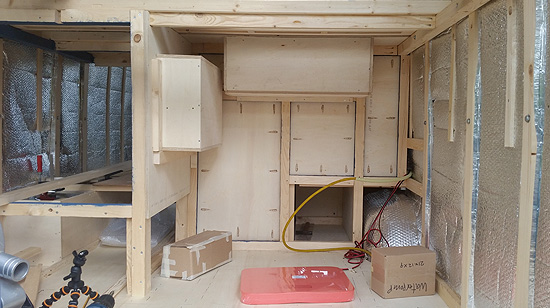
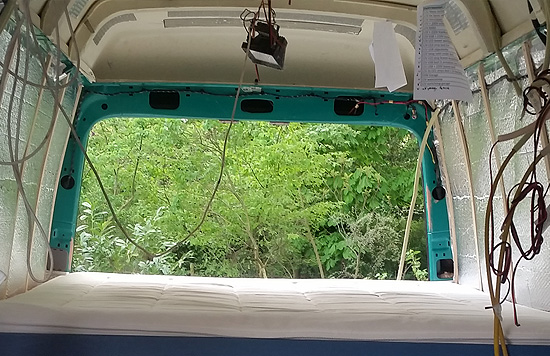
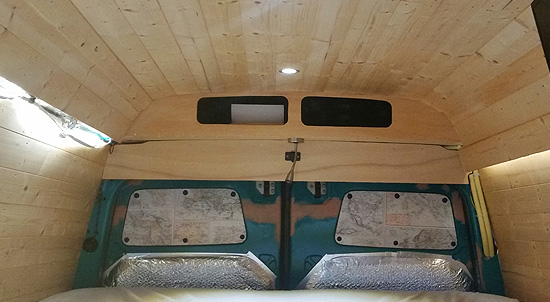
Another project is building a cabinet above our bed in the back of the van. The process is about the same as building the overhead cabine storage. With a few special features. To get more information on building our overhead cabine storage check out our detailed video.
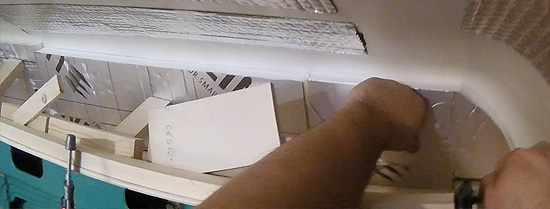
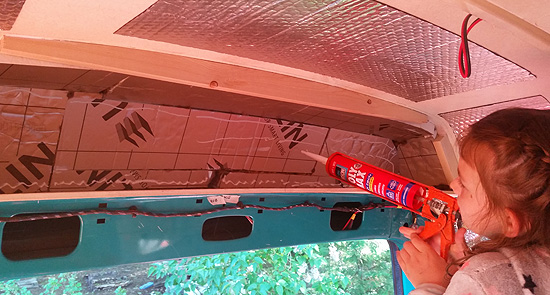
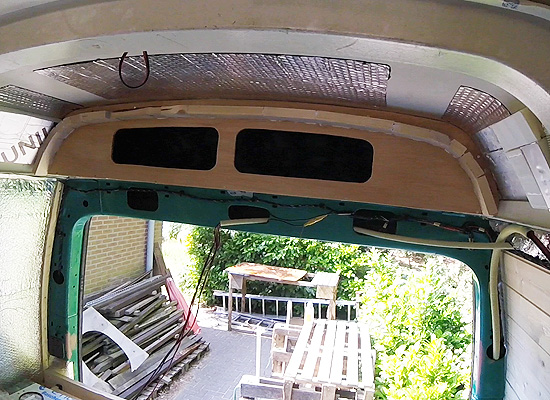
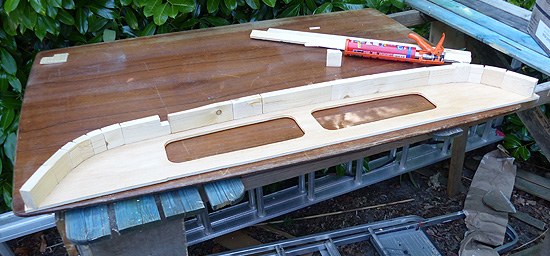
We used the existing protruding parts at the transition of the metal walls and the polyester roof to form the foundation of the cabinet above our bed. We measured and cut a piece of plywood that exactly fitted the available space to the millimeter. We used adhesive caulk to secure it in place.
We used left over pieces of wood to push the bottom plywood sheet of the cabinet down to let the adhesive caulk cure while keeping it tightly in place. Like we said in earier videos: don't throw left over wood, because it always comes in handy.
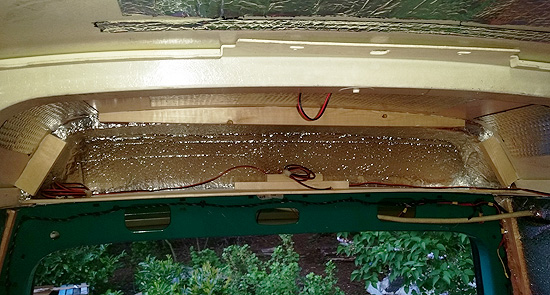
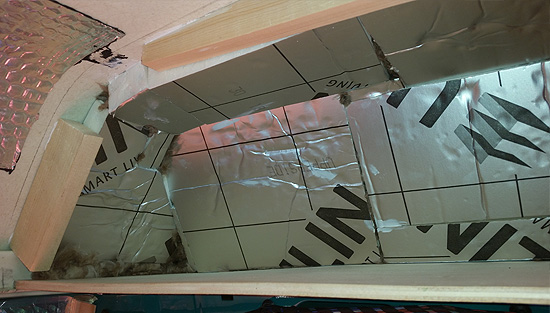
We insulated the cabinet using reflective foamboard. We used only left over bits from earlier projects, so it became a bit of a jigsaw puzzle of small bits we each cut to size. We secured the foamboard with adhesive caulk. Eventually we put reflective bubblewrap over the foamboard to give it an even surface. On top of this we glued an old fleece blanket using Bison Spray Adhesive. Pretty much the same as the overhead cabin storage.
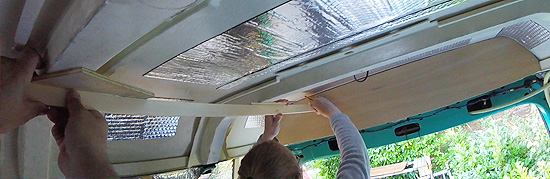
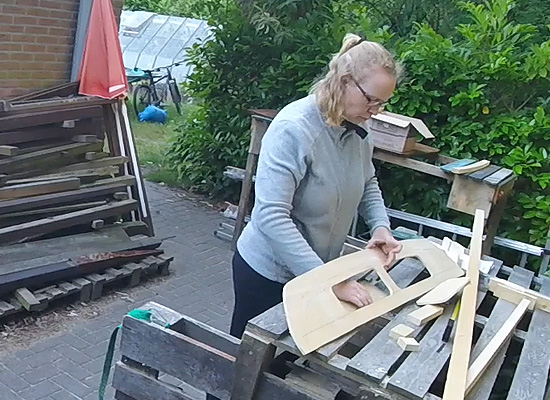
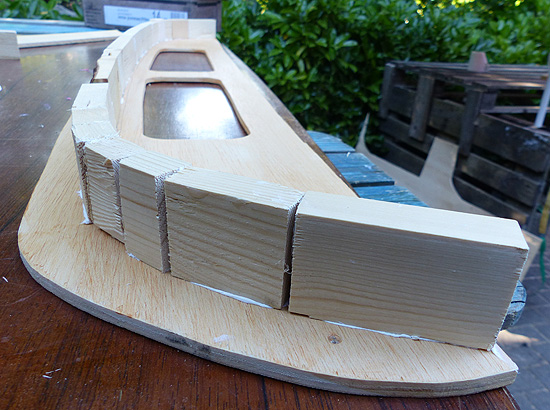
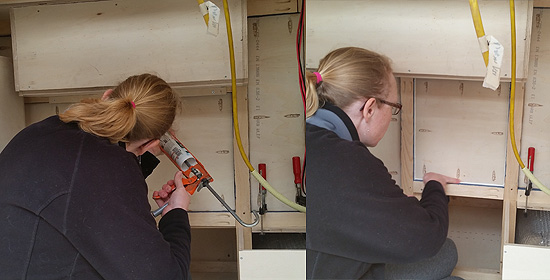
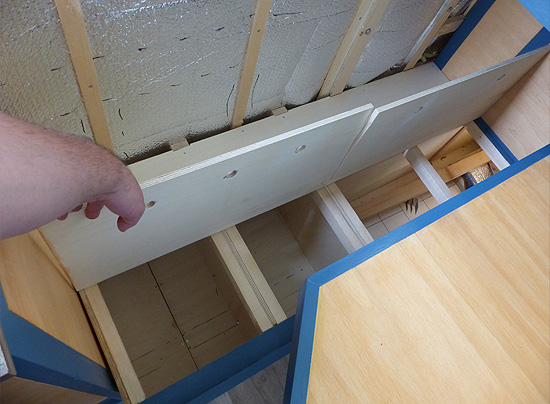
But first we have to cut the front panel of the cabinet to size. This also has to fit exactly the shape of the rounded polyester roof, with a straight cut on the bottom of the cabinet. We then have to mark where the battens must be places on the inside of the cabinet to secure the front panel in place. On large on over the length of the roof. And two small ones at the sides.
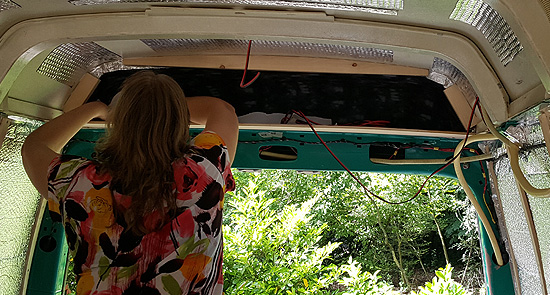
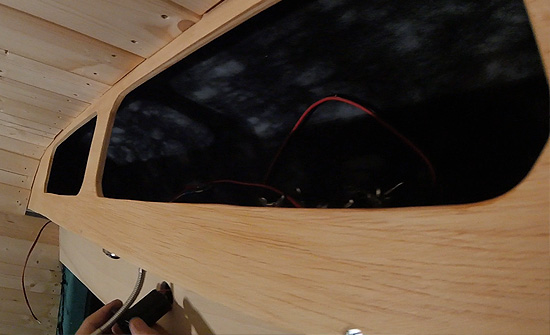
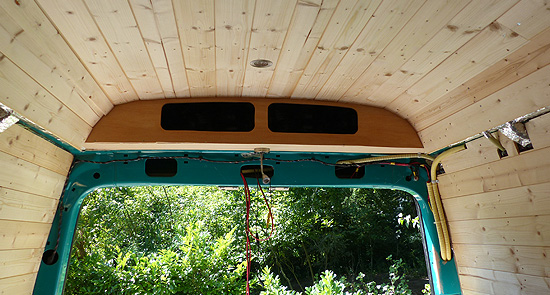
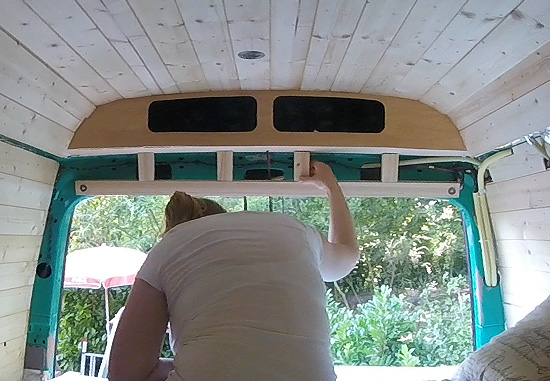
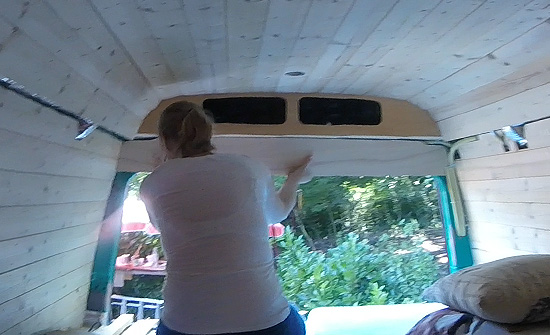
Then we cut two identical holes in the front panel for easy access to the storage space above our heads when we lay in bed. Well, actually my wife made the cuts, while we observed the process. Then on the front of the cabinets panel we have to secure a sturdy base to secure our tongue & groove ceiling cladding to. We transfer the rounded shape of the roof beams to the front panel of the cabinet and use bits of left over wood to make a wooden form the matches the other beams of the roof.
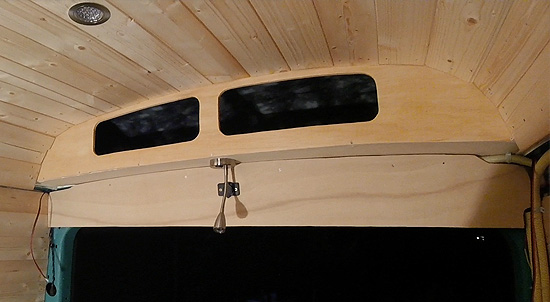
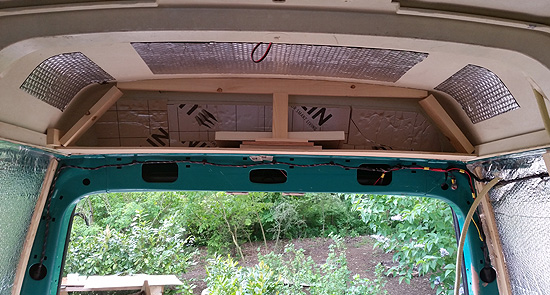
After installing our cladding, which we also have made a separate video about, we have a small but handy extra bit of storage above our bed. But we didn't like looking at the metal beam on the back under the cabinet, which is filled with wires for the reversing camera, reading light, mood lighting on the sides and also the double USB charger. We decided to install an extra panel under the cabinet. using the existing factory made holes in the metal.
We cut a batten to size, measured the exact location of the needed holes. Then we used a spade drill bit to make space to have the nuts sunken in the batten. We put a small piece of leftover plywood to hold the bots on the back of the metal. The nuts are secured in the front and are hidden within the batten.
After installing this bottom horizontal batten, we put in 3 small vertical battens. Then we measured and cut a fitting piece of plywood as a panel to cover the metal beam, hiding the wire filled holes. We put our reading light on the bottom of the cabinet. The double USB charger we put in the newly installed vertical panel.
This looks good enough and this result is just fine with us for now. We still want to put in some more decoration, but we haven't gotten around to it.
Also check out our video about building our interior.