Building our kitchen with a small sink, a gasstove and an extended worktop.
Also check out our video about building our kitchen.
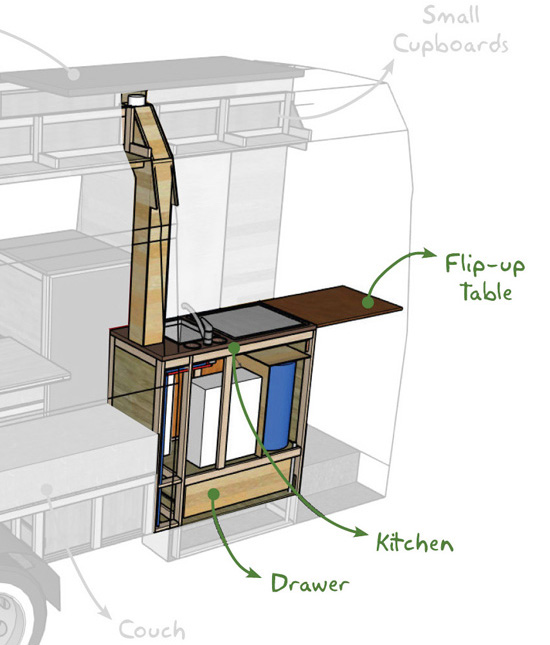
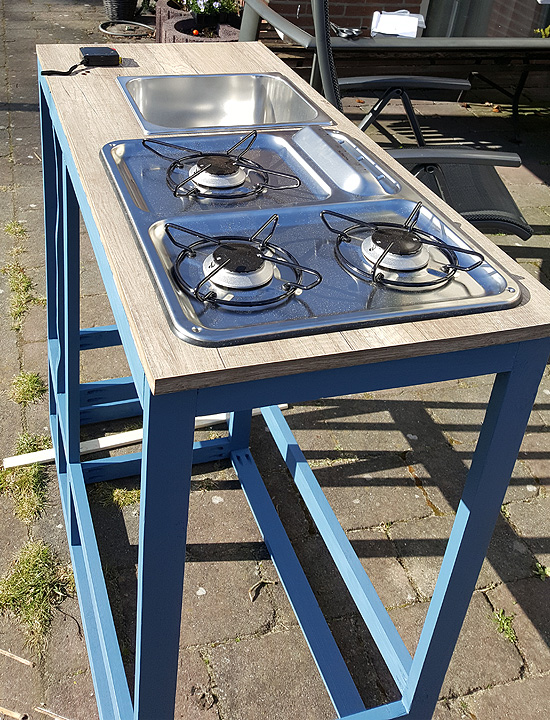
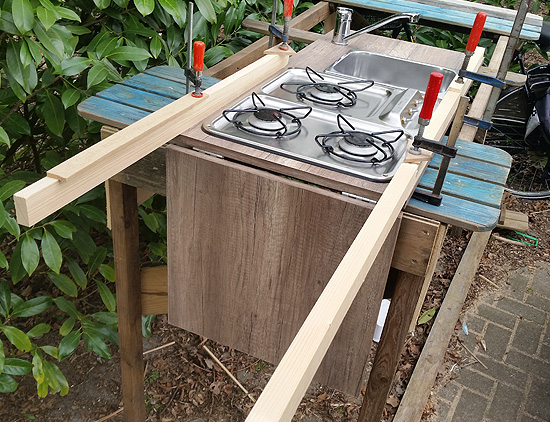
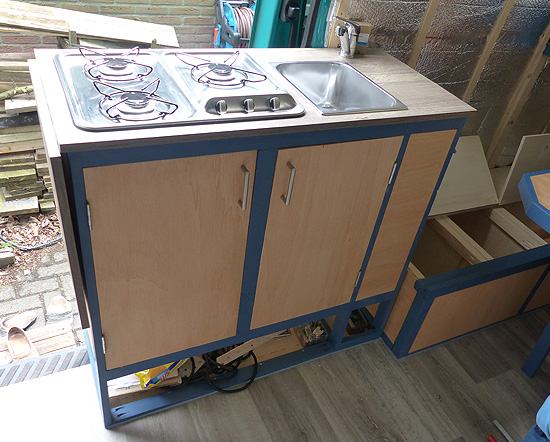
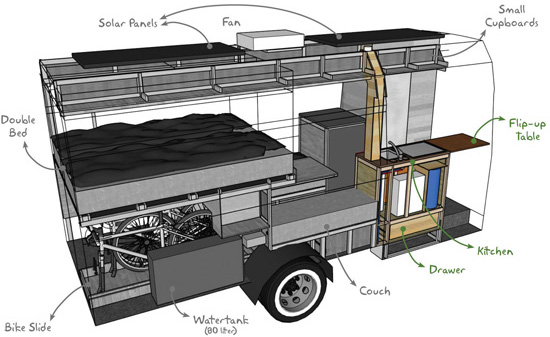
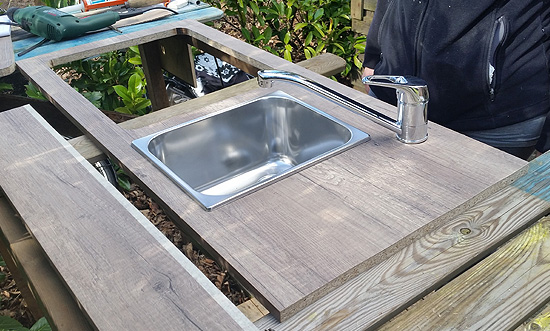
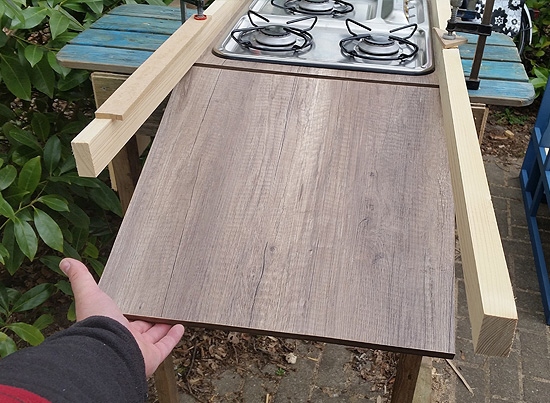
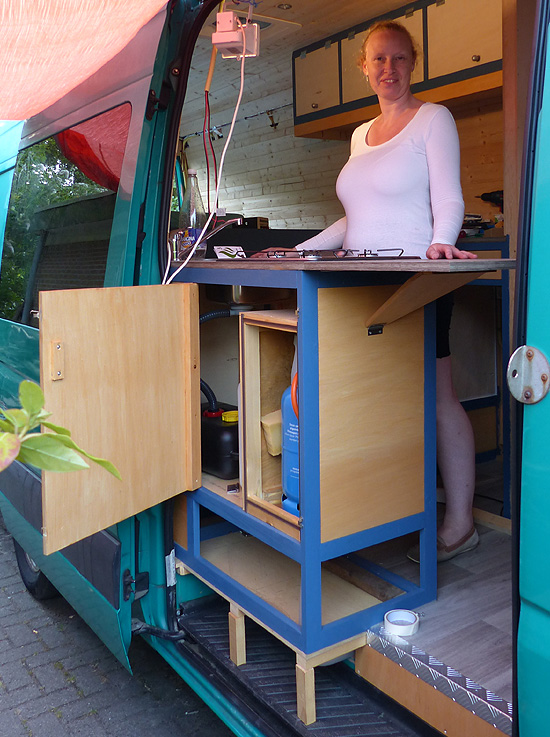
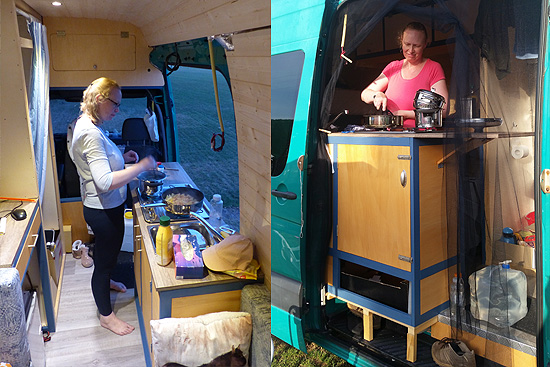
In our design we've planned a small but complete kitchen. It has a small sink and a 3 burner gas stove. To expand the worktop we have a flip-up extension that we can put up whenever we need more space.
In our design we strive to keep things simple, using light-weight materials wherever we can, so we can keep our overall weight as low as possible. The only aspect in our design that needs to lose weight is me.

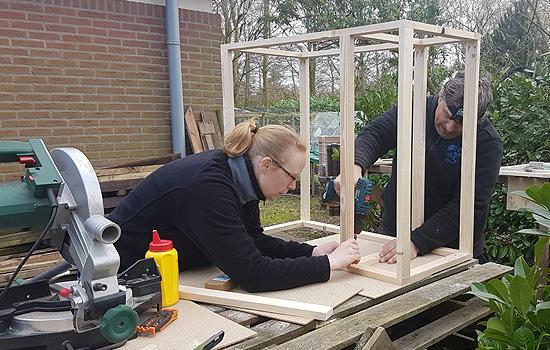
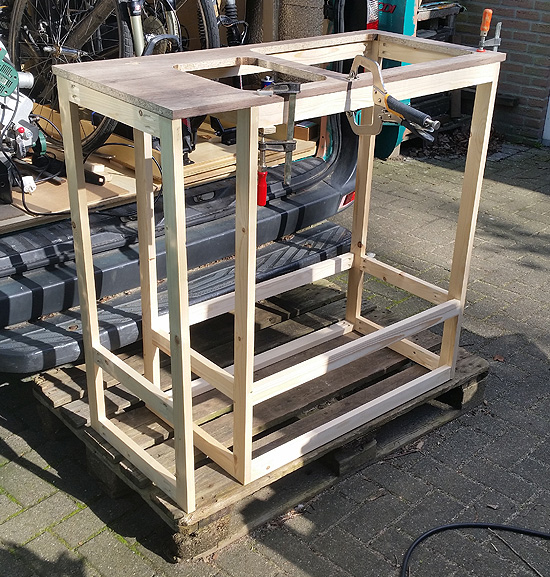
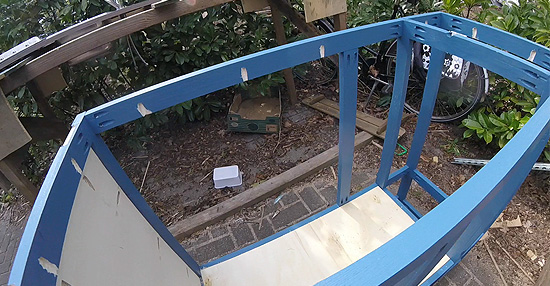
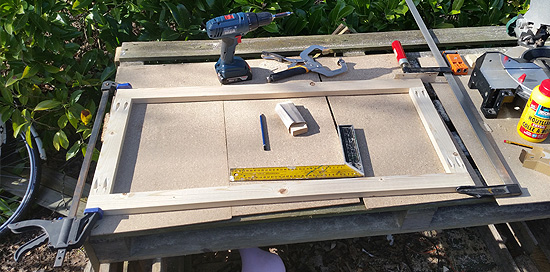
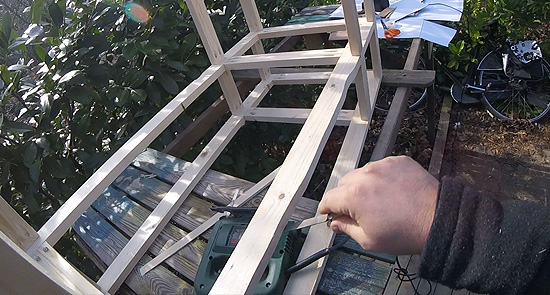
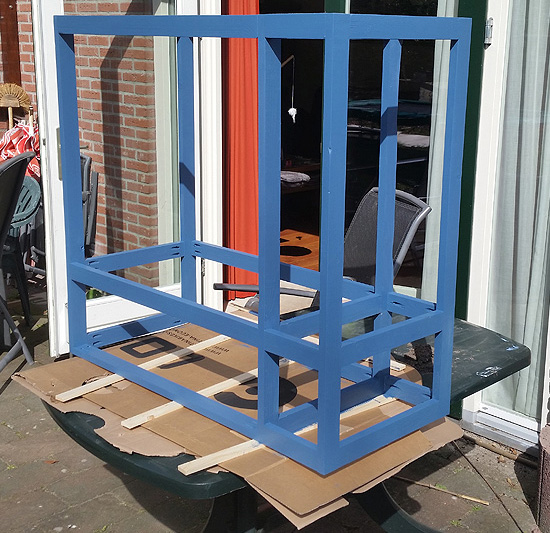
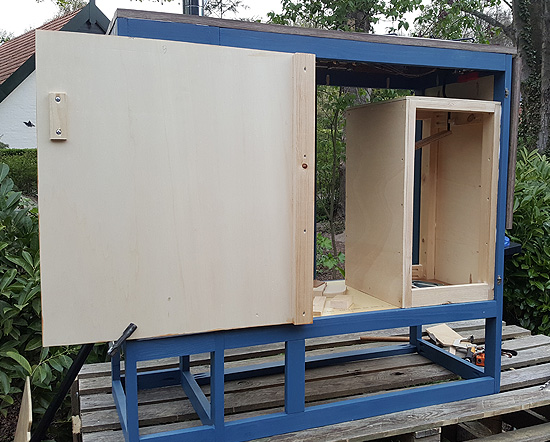
For this kitchen block it means we are building a frame with beams of pinewood. The open spaces we fill with 9 mm multiplex. Building like this takes more time, but in the long run, using this way of construction throughout the van conversion saves a significant amount of weight. According to our calculations.
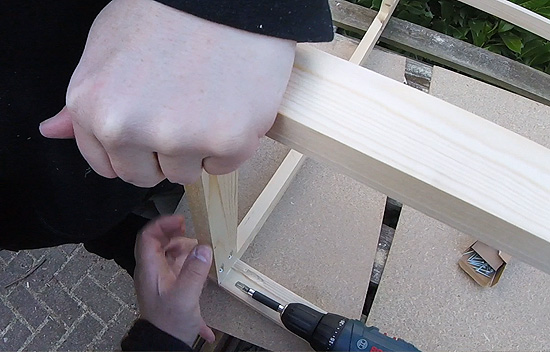
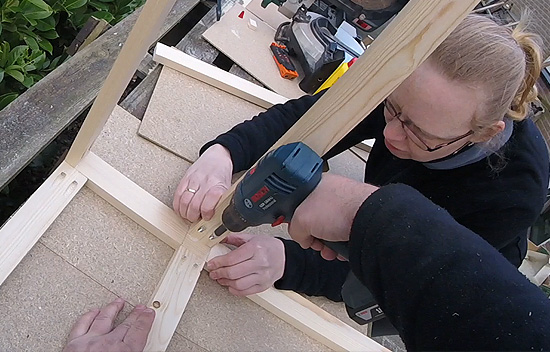
As in every project in this van conversion we frequently used our pocket hole jig set. You clamp the pocket hole jig onto your batten and drill angled holes with the special stepped drill bit. To join the battens, drive the pocket screws at an angle into the pocket to connect them. Once you clamp the pocket hole jig to you batten, set your drill to its highest speed and start drilling holes. The collar will stop the bit. I'll spare you the endless footage of drilling many tens of pocket holes.
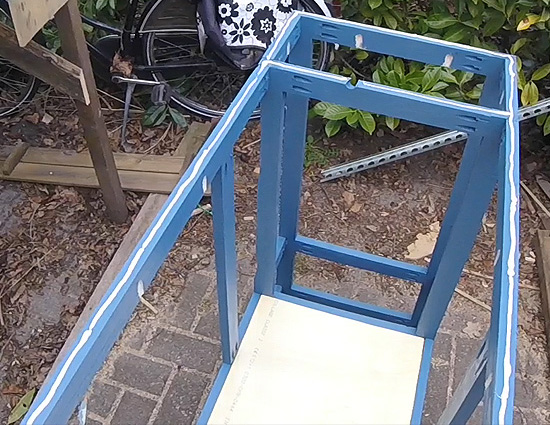
We also used regular wood glue on every join to make it stronger. Even then this frame of the kitchen block was still a bit wobbly, but it would become more rigid with the worktop installed and every sheet of 9 mm multiplex we put in.
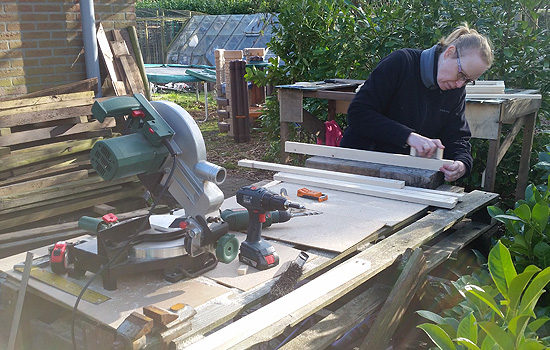
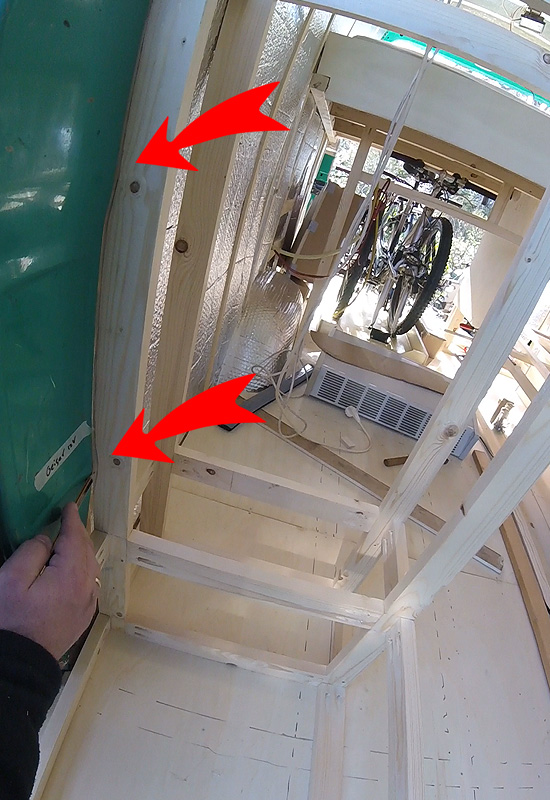
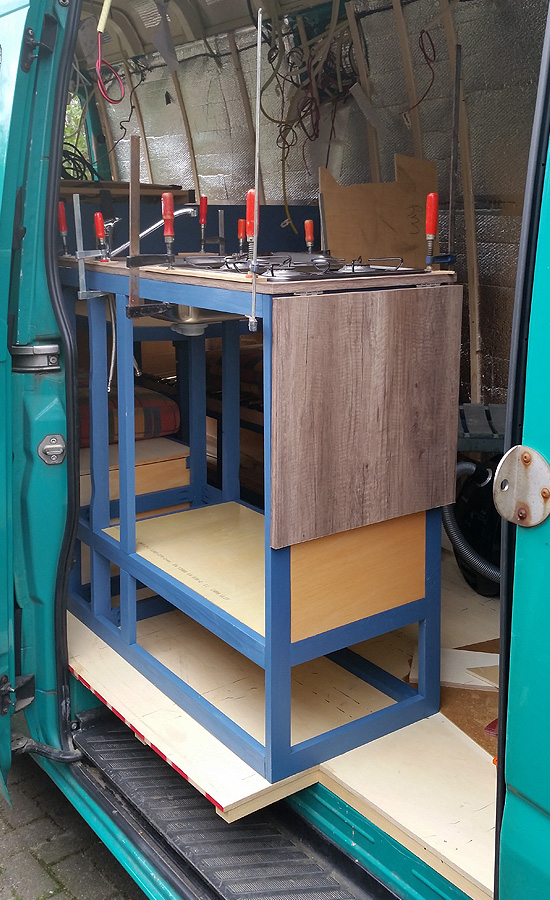
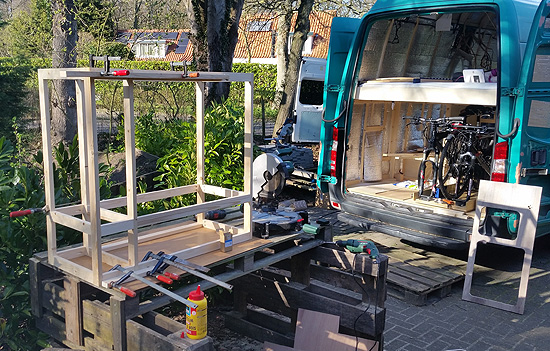
Testfitting the frame in the van in the location we had planned, we ran into a small problem. The existing metal strut just next to the sliding door has a few inward curves, exactly where one of the wooden beams of the frame is. This prevents the frame to be placed exactly where we want. The solution turned out to be simple: mark the curves on the beam and cut a few curves in the beam using the jigsaw. Then fine tuning with a wood rasp and file.
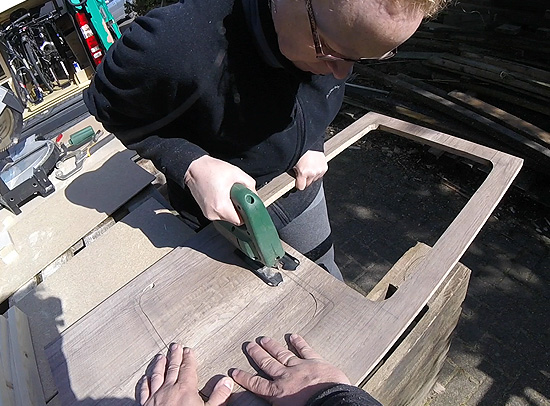
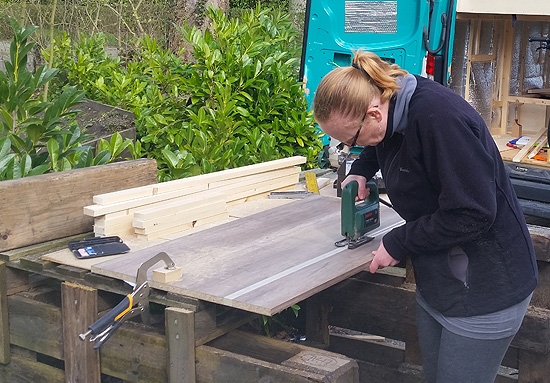
As we only have a jigsaw at our disposal, getting the worktop and sheets of multiplex cut in a straight line takes some practise. Using a table saw would have been a lot easier. So we failed in many cases to get it perfectly straight. But who cares? It's our van and we don't strive to built the perfect van here.
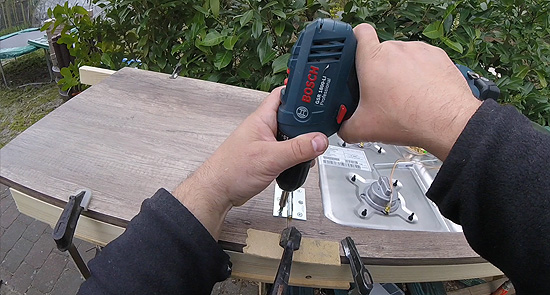
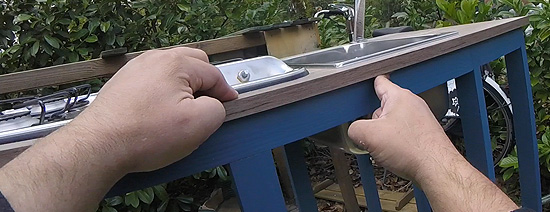
After cutting the worktop we did a testfitting with the underlying frame. All seemed to fit. So we cut the holes to put our small sink and the gas stove in. We drilled holes to install the regular water tap. It was a very tight fit it turned out, but we managed. Now we can complete our frame and paint it.
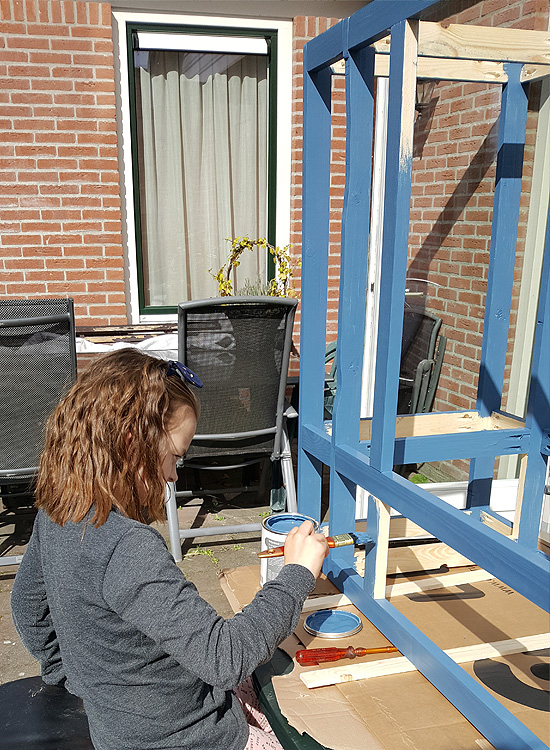
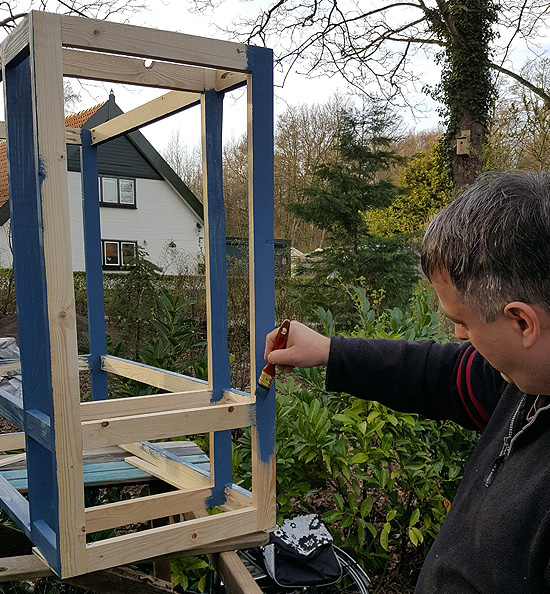
As we pondered the color scheme of our van, we decided we wanted to predominantly use the natural look of wood in our van conversion. Especially for the walls and ceiling. We want to give the multiplex sheets we are using for our interior a natural and mildly wood-stained look. To contrast this wooden look of our interior we wanted to get a nice and/or bright color. We tried to pair and match together several colors and ended up using the first idea we had: a fresh blue color for the beams of our interior.
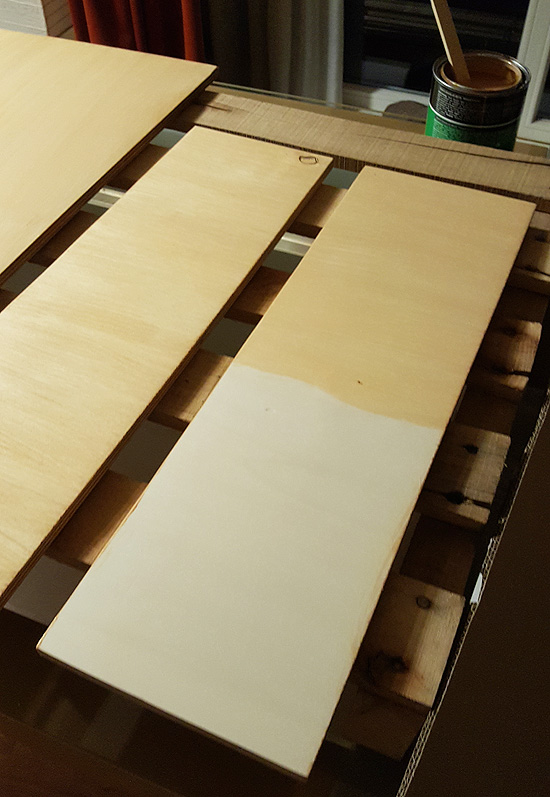
After cutting the multiplex sheets to size, we treated them with two layers of a semi-transparent wood-stain in a light brownish/yellowish color. This gave the surface a nice warm color while emphasizing the natural wood grain.
To get the extension of the worktop to work, we decided to not get those rather expensive lift up brackets, but to do it the cheap and experimental way.

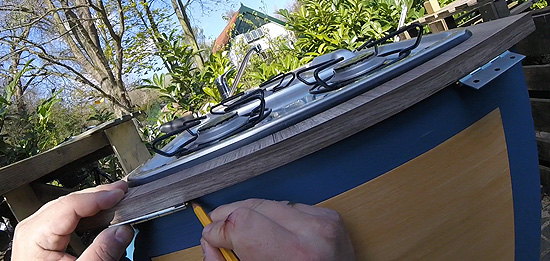
We decided to use simple hinges. First I put a vertical sheet of plywood on the side of the worktop, so I can secure these hinges exactly to the edge of the worktop and parallel to each other. I turned the worktop around to put the screws in, on the underside of the worktop.
Then with one side of the hinges firmly secured in place, I put the extension in the upright position and secured this with wooden beams and multiple glue clamps. I made sure it was pressed seamlessly to the side of the worktop. With this contraption in place I can secure the other half of the two hinges on the underside of the extension piece.
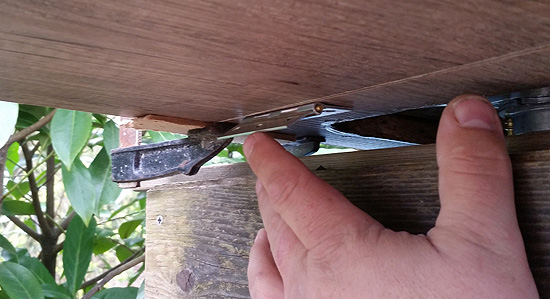
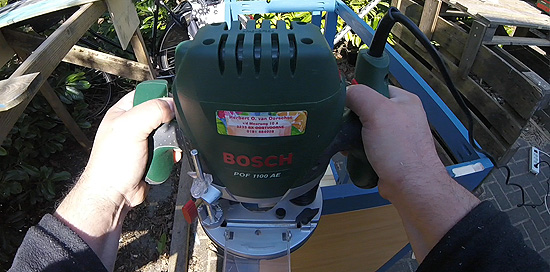
To get the worktop with the new hinges recessed neatly within the frame, I marked the location of the hinges on the frame and used the router to cut out two slots to fit the hinges in.
It's a simple solution but this seems to work just fine. I have a plan on how I want to prop up and support the extension, but we will be installing this later on in the build.
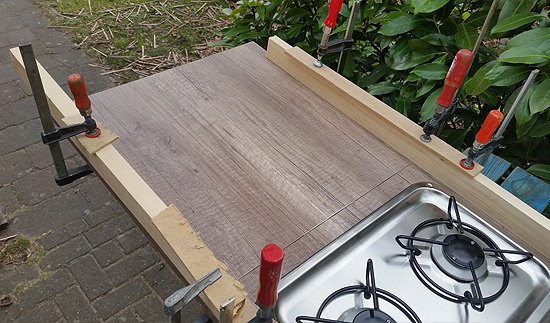
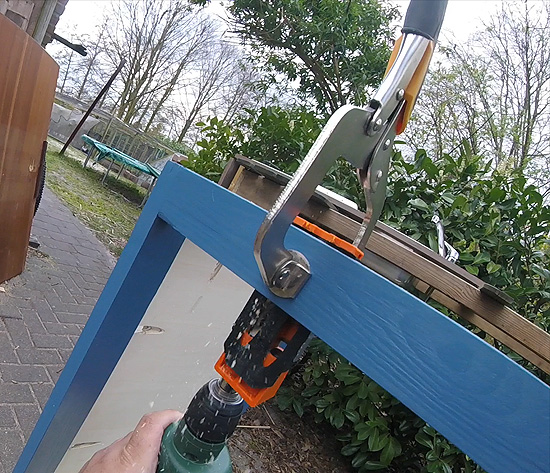
Now we reached a milestone in building the kitchen: the worktop is ready to be secured on the frame permanently. After yet another testfitting we are sure the time is now! First we drilled the holes for the upright screws using the pocket hole jig on the inside of the frame. With a mouse sander we cleaned the holes up.
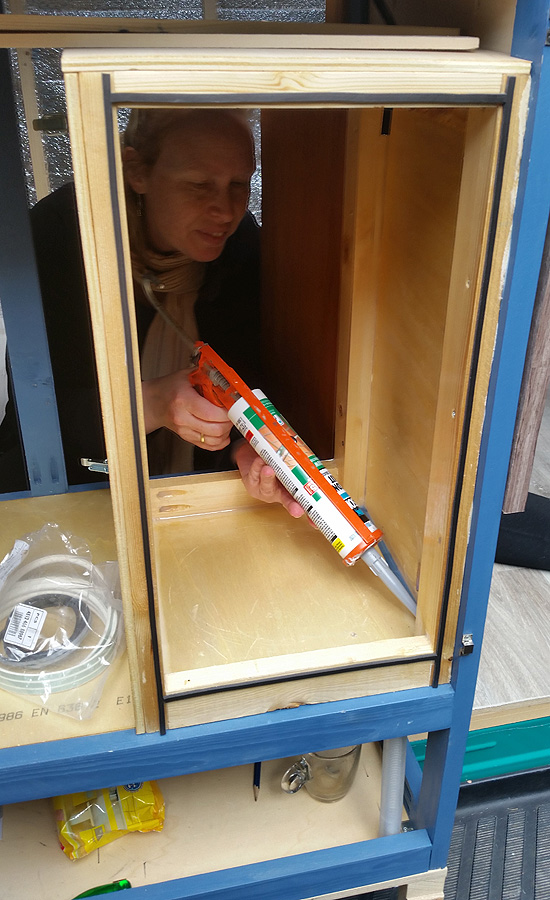
Next is sealing the worktop to the frame. We used Bison Polymax High Tack Express. This is a sealant that is permanently elastic, super strong, solvent-free and resistant to mold. At least according to the label.
Then we push down hard on the worktop, so we can remove the first excess sealant from the side. First using a finger then using W5 cleaning wipes from Lidl to get the last spots. Those wipes are amazing by the way!
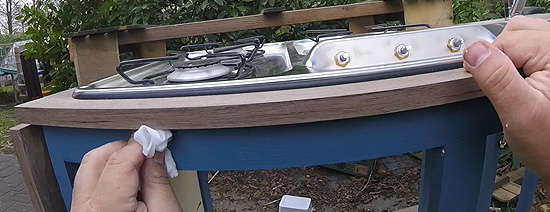
Then we put glue clamps on to get some more force to tighten the worktop down. And again with a finger and wipes we clean the excess sealant.
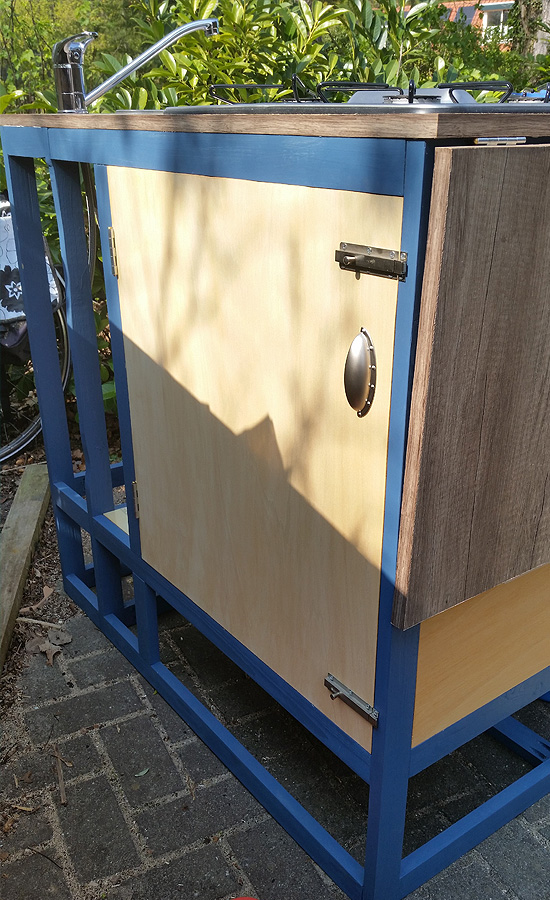
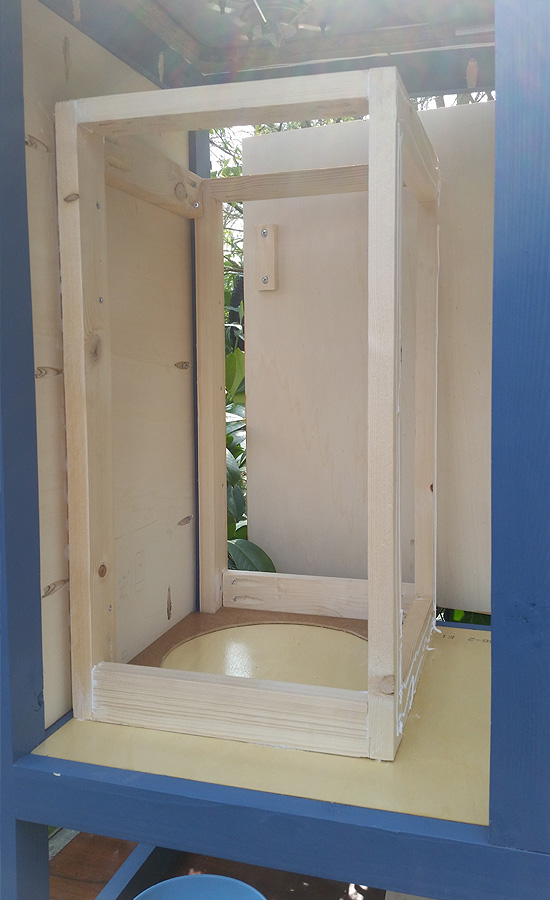
On the inside of the kitchen block we built the gas locker. We want to keep the gas bottle as close to the stove as possible. Also putting it in this location, you can easily change out the gas bottle, by opening the door on the side of the kitchen block, while the sliding door is opened. You can also open the gaslocker on the inside using two toggle latches.
The gaslocker is completely sealed. We sealed all the edges with silcon sealant. On both sides, where the doors are situated, we placed rubber seals, so the doors also seal of the gaslocker when closed.
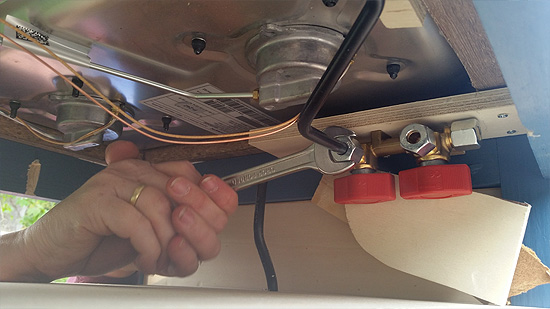
The gaslocker is ventilated, via a duct and a transparant tube coming out of the bottom of the gaslocker and ventilated at the bottom of our van. The tube has a diameter of about 2,5 to 3 mm and has a length of about 30 to 35 cm.
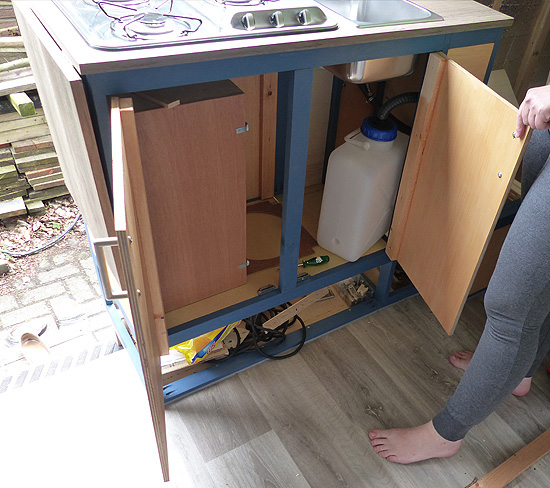
Inside the gaslocker we can secure the gas bottle using a strap and we have the bottle secured with a piece of foam.
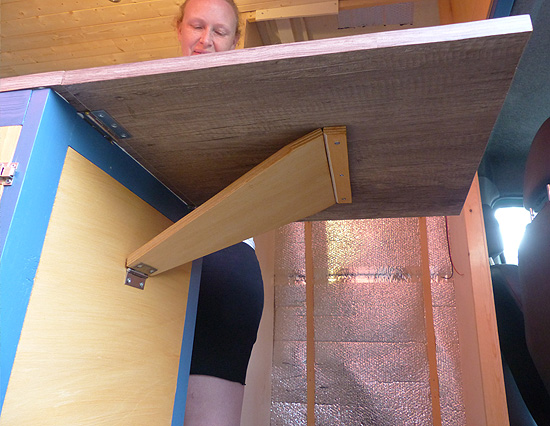
Last but not least we'll show you how we built the contraption to hold the worktop extension up. We used two pieces of scrap wood, to keep the extention up. We sanded both of the edges down, just the right way, so that the edges of both pieces exactly fit each other. It works like a charm!
We secured our kitchen block to the beams under the floorboard. If you've seen our design video and/or the video about building our floor, you may remember we design our floorbattens, so that we could secure our interior not only tot de floorboards, but also into the floor battens. That's much stronger and we are able to use a 9 mm floorboard, instead of a thicker one. Which saves weight. So that's our kitchen block finished. This maybe was a rather in depth video. As the devil is in the details, we hope you have gotten some inspirations, tips and tricks for your own van conversion.
Also check out our video about building our kitchen.