Insulating the floor, walls and ceiling with glass wool and insulation boards. Covering the floors with plywood and installing wooden siding on walls & ceiling.
Insulation and putting in the floor, walls and ceiling spanned almost the whole van conversion. We decided to only put siding on the walls in the living area, only on the visible bits around the interior. So we had to build the interior first.
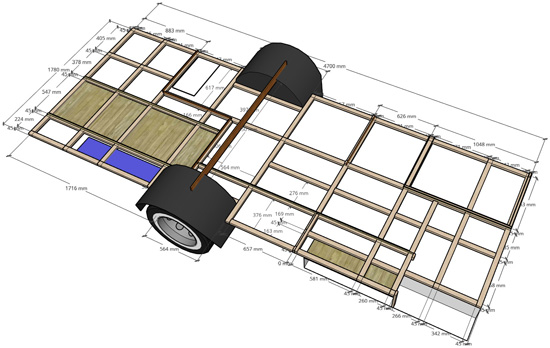
When we designed the van, we pretty much had the exact location fixed where our interior would be placed. So the placement of the battens on the floor was designed to enable us to mount our interior to. In the video on our 3fDesign YouTube channel we visualize what our thought process of the design was.
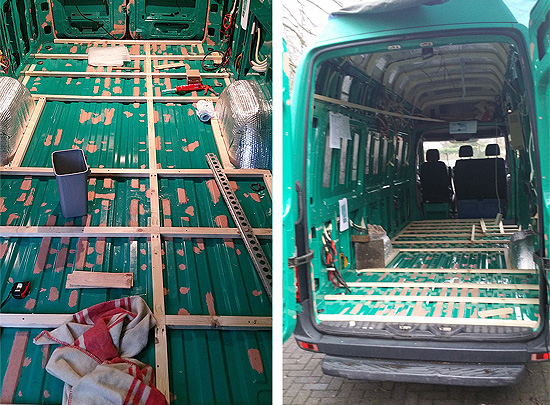
It took a lot of measuring to get the battens in exactly the right location. But the time we spent on this would be totally worth while as create a sturdy base to secure our interior to, which makes our van safer to travel in.
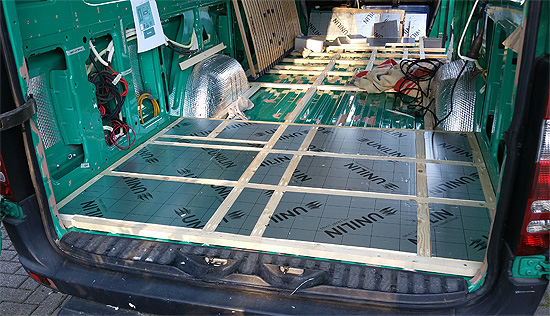
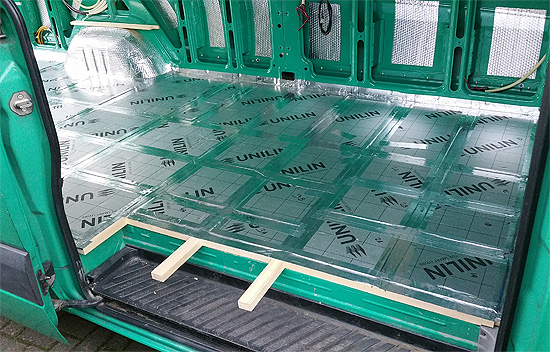
We secured the battens to the metal floor using self-tapping screws and some universal assembly adhesive/sealant. In our case we used Bison PolyMax Express. This leaves a mix of rectangles with varying dimensions.
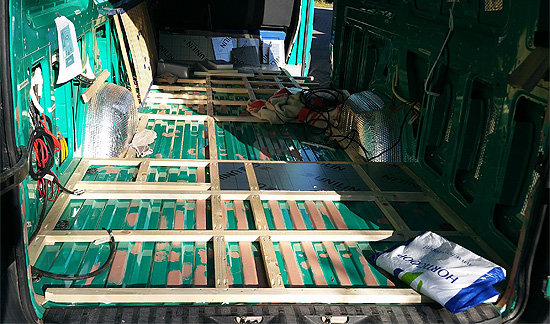
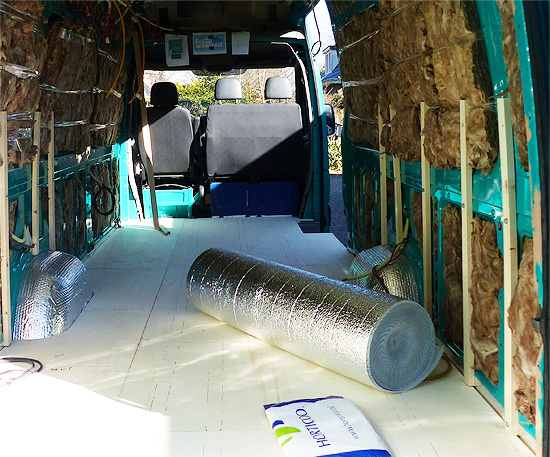
We insulated the floor using reflective hard foamboard that had (about) the same height as the floor battens. There was only 2 mm difference in the exact height, which wasn't much of a problem. On Greg Virgoe's YouTube Channel you'll find excellent video's on insulation.
The foamboard is easily cut with a Stanley knife. First you measure, then you cut one side to about 2/3 of the board. You can break the board and cut the second reflective layer. Or you can cut it right through. Whatever works best for you.
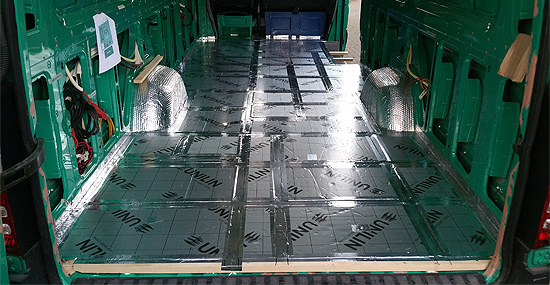
To keep the vapor barrier intact we sealed all the edges and wooden battens with reflective aluminum foil tape.
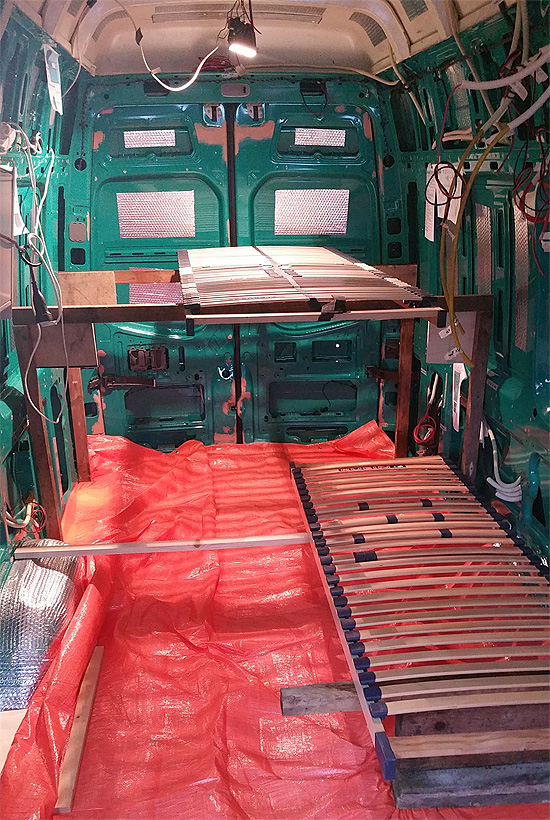
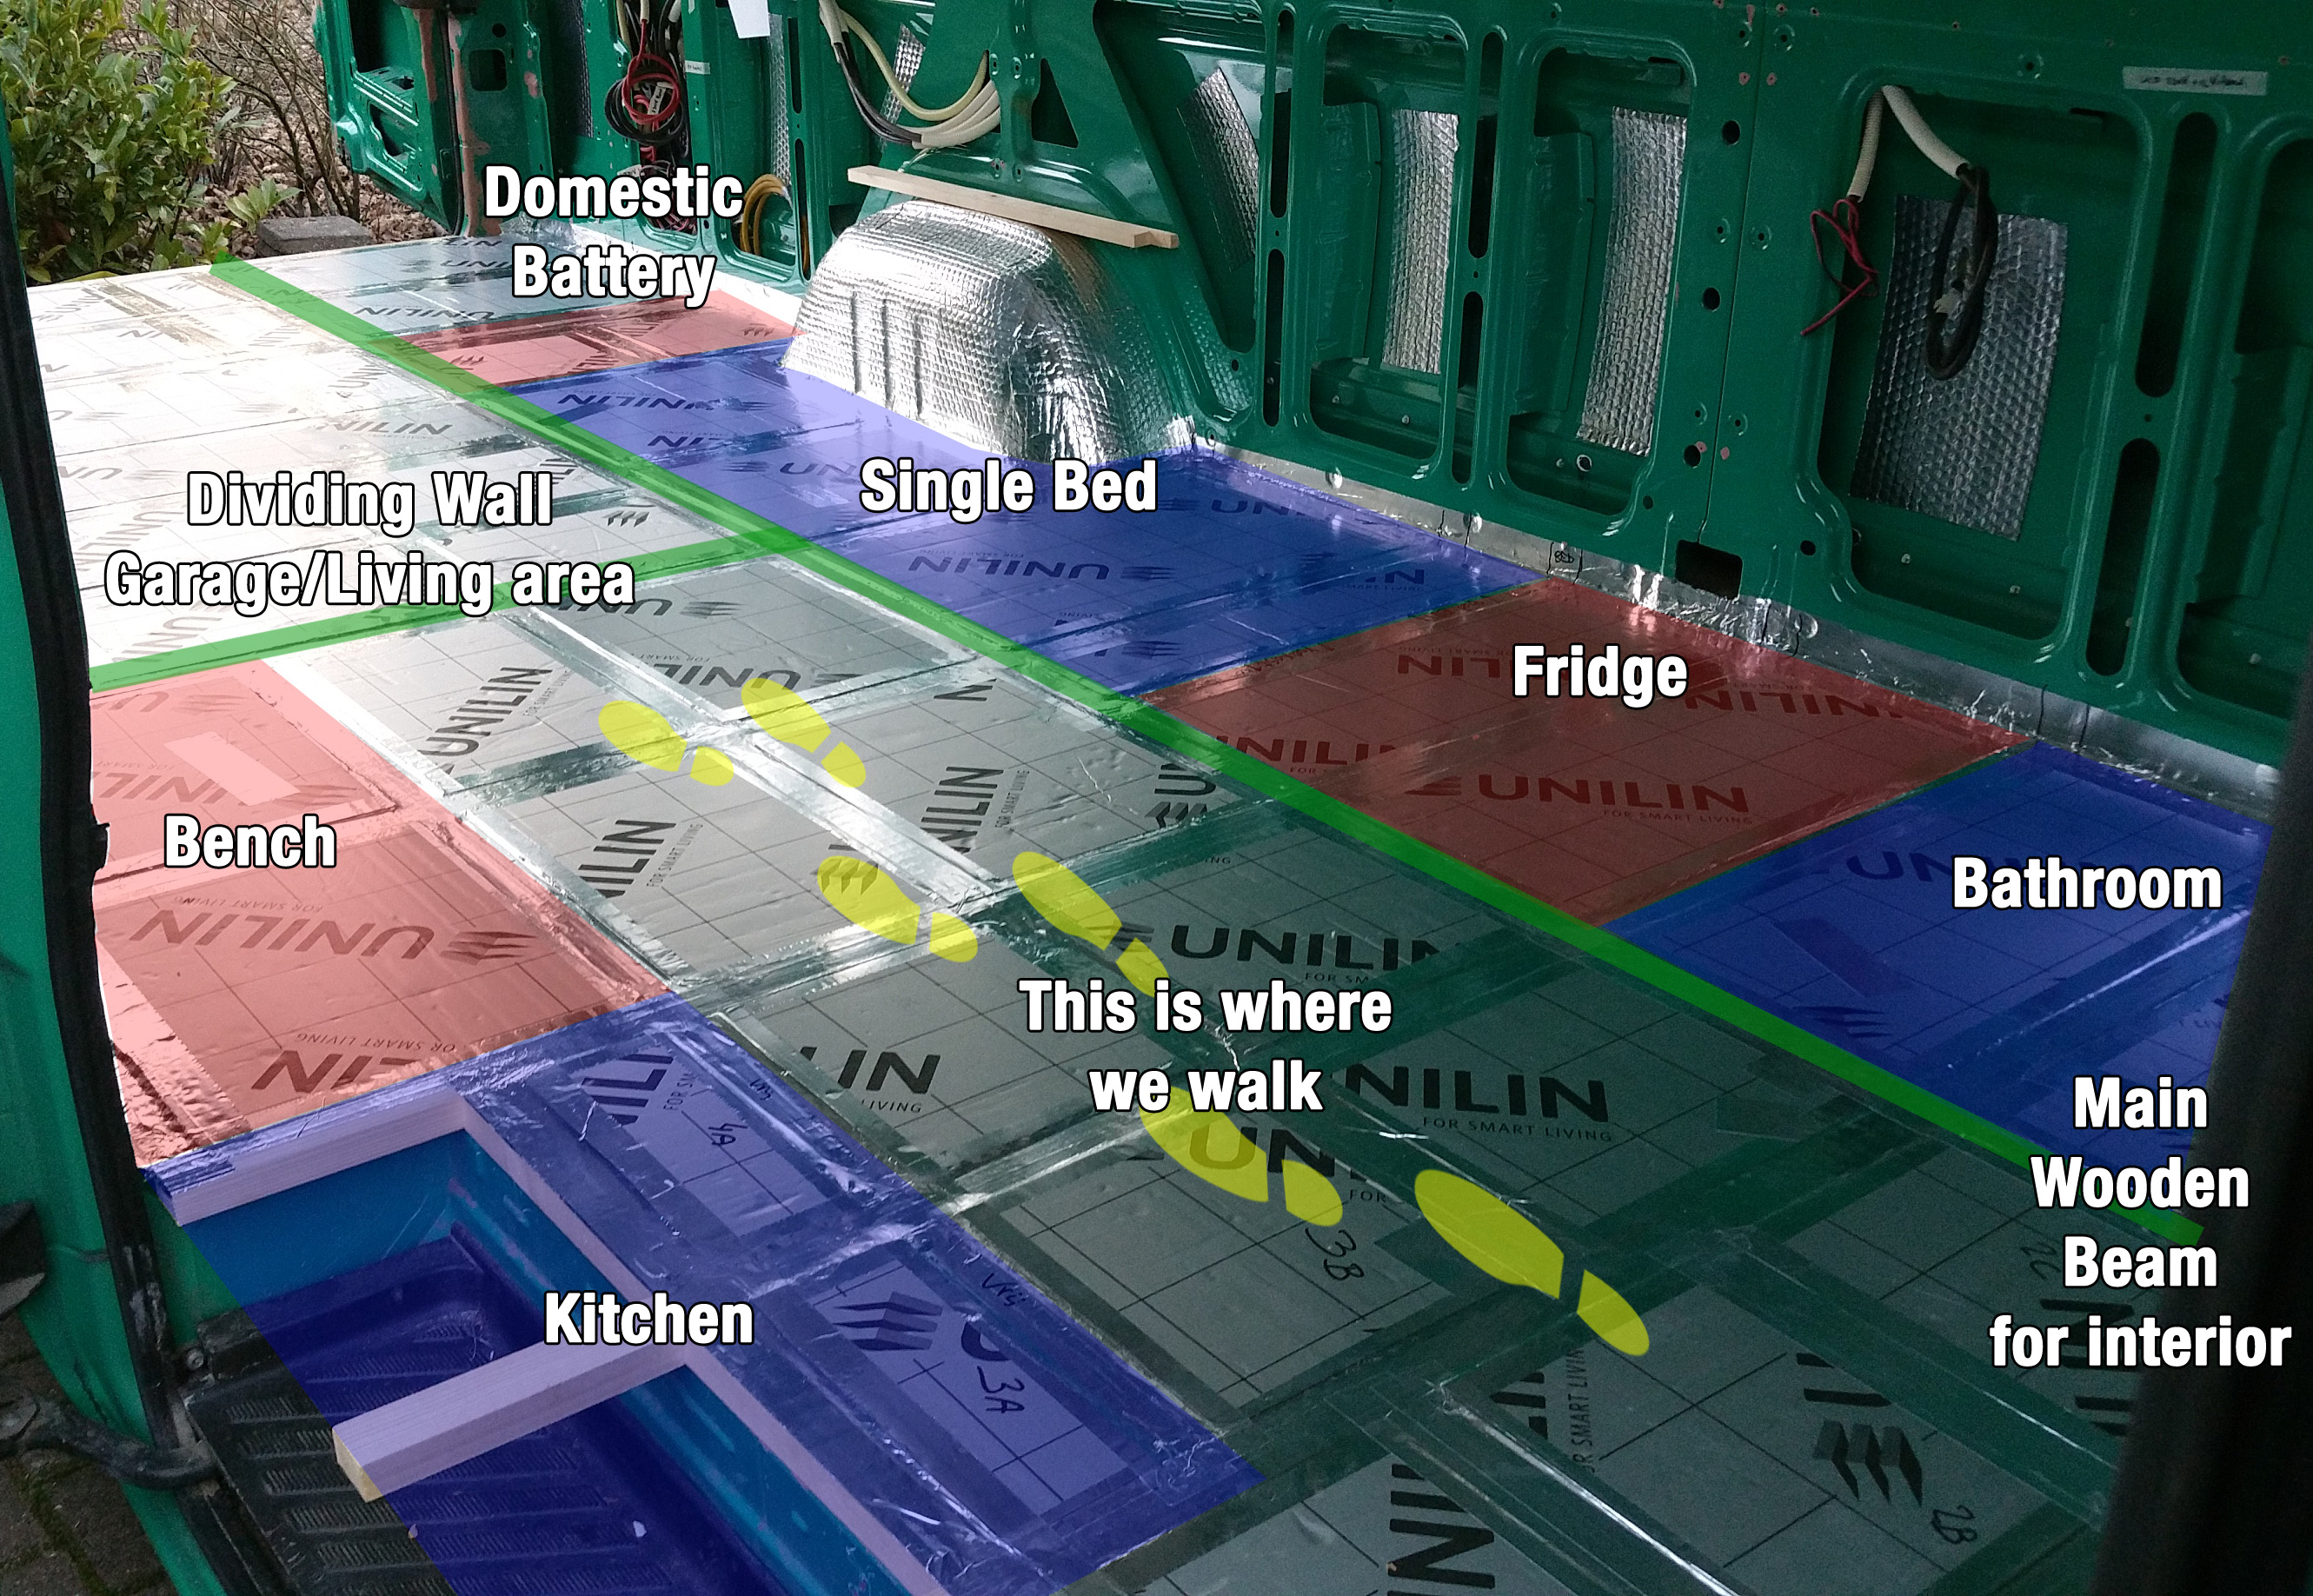
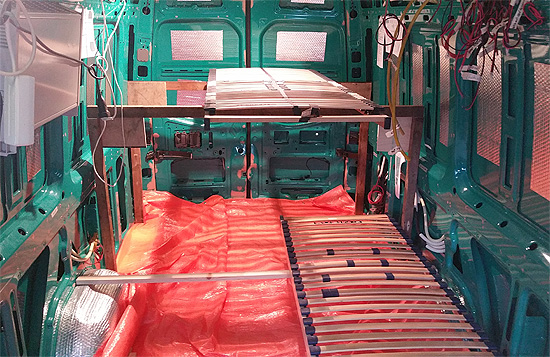
In the image below you can see how we designed the floor battens to fit the locations of the interior, so we have some solid wood to build on.
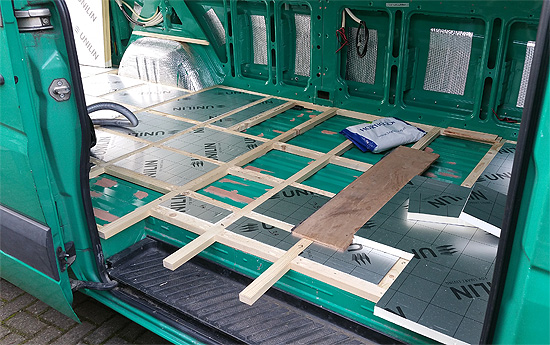
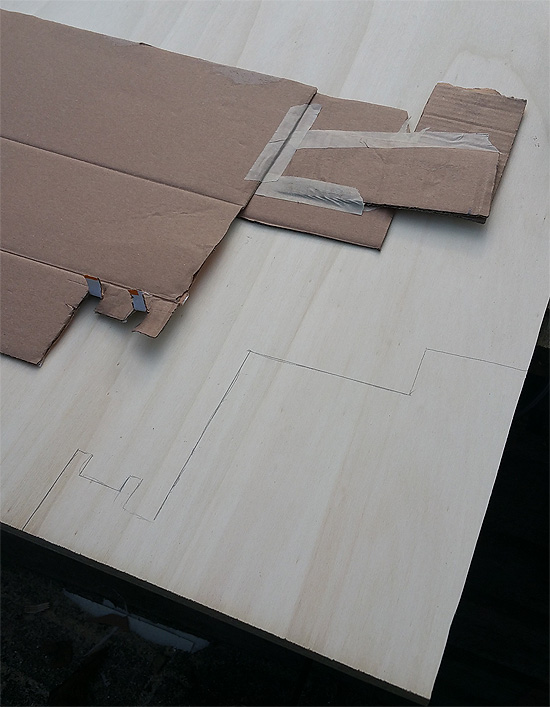
Now we cover the floor in 12mm plywood. With carton we make an exact template of the complex corners in the floor.
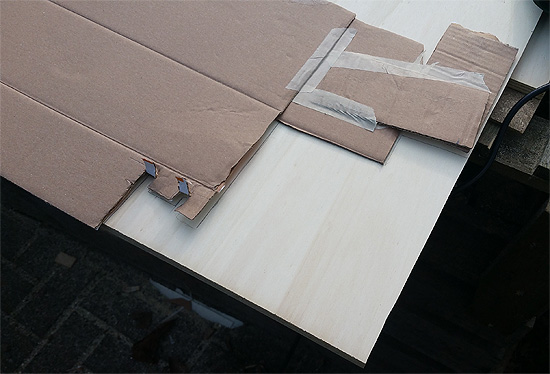
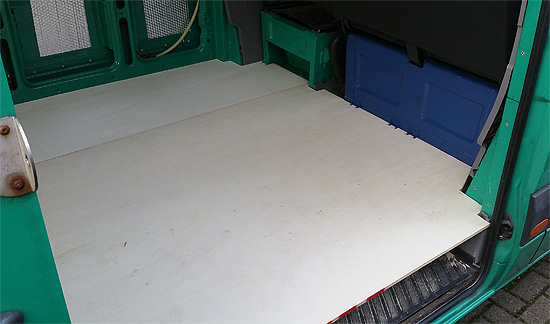
When the carton fits exactly we tranfer the edges onto the plywood and cut it with a jigsaw. Actually we were pretty stoked to get the floor to fit so nicely around the edges.
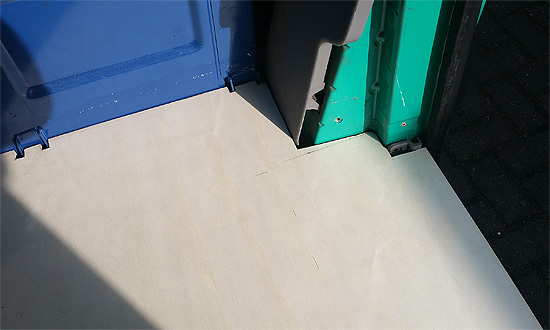
We cut the edges of the plywood along the wooden battens, that were meant to fasten the interior to, so these edges would be covered up as much as possible.

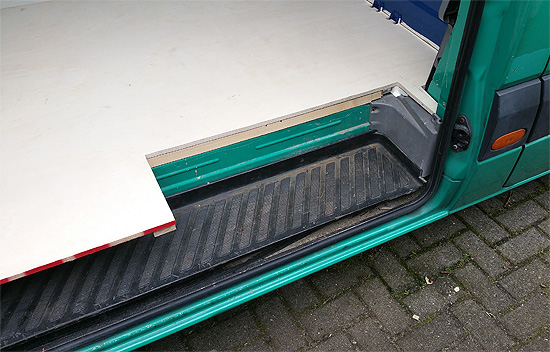
At the sliding door we cut the entrance in the floorpanel. Next to this we planned our kitchen area, so we can cook in the opening of the sliding door, if the weather permits.
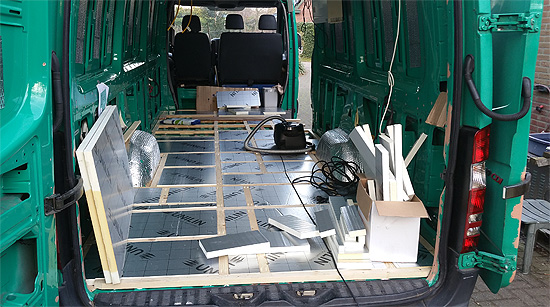
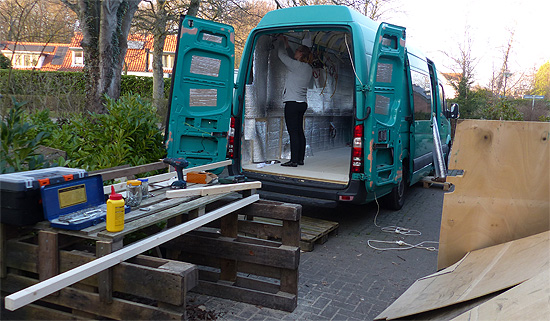
Just before we start insulating the van, we wanted to double check the design of our fixed beds. At this point we had already measured the height of the bikeslide with our largest mountainbike.
The underside of the bed had to be at precisely 100 cm to clear the mountainbike. We wanted to get a feel for the space we would have inside our living area the van with a bed at this height. Especially the headroom above the beds. After this double check we could start the insulation.
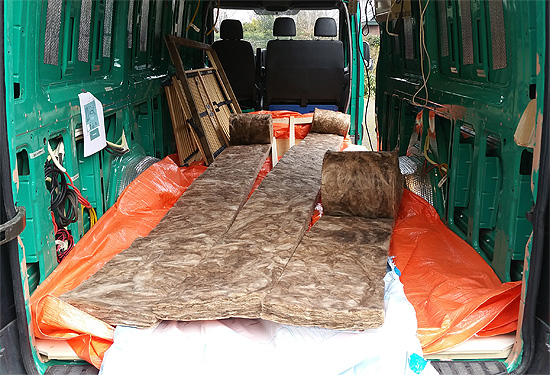
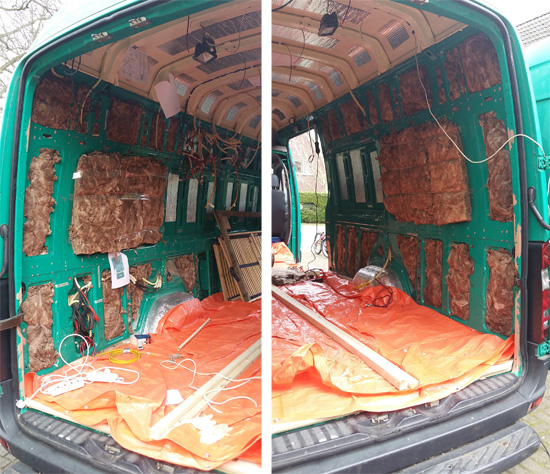
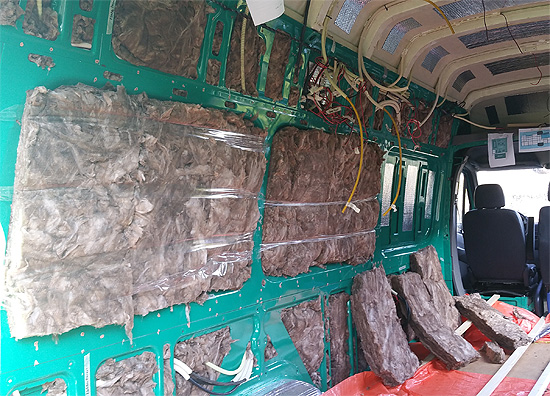
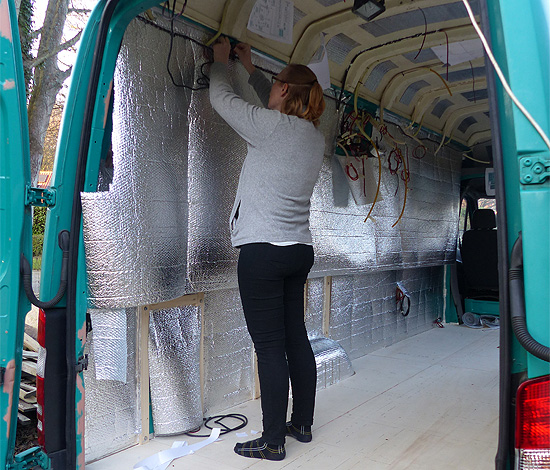
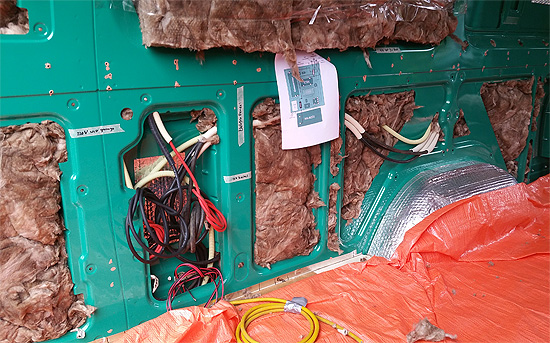
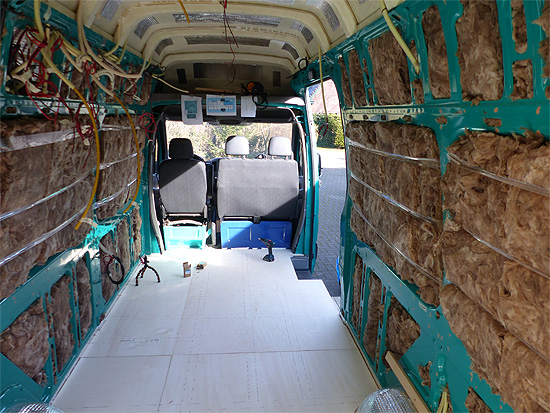
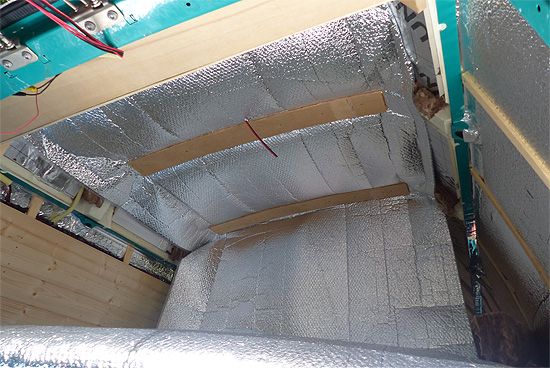
We used glass wool for the walls. We cut this with an old breadknife. We stuffed every nook and cranny. All hollow spaces in the walls we filled. You are able to even fill the small round holes, using a screwdriver, chopstick or by hand. So a lot of the glass wool you don't see in these pictures.
On the large open spaces we used transparent packing tape to temporarily keep the strips of glass wool in place.
This is a pretty messy and time consuming job and we had to vacuum the van often and thoroughly. Also, wear a mouthcap and keep the van ventilated at all times.
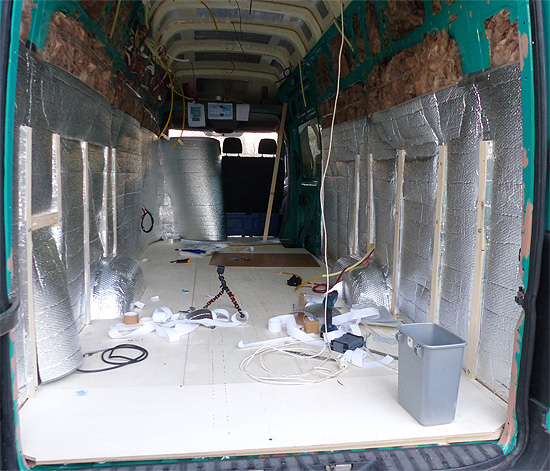
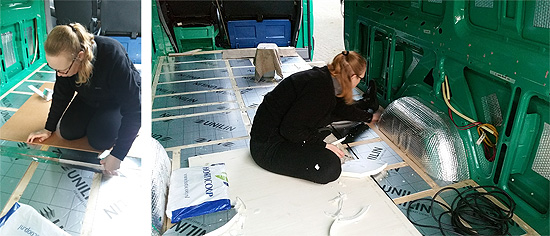
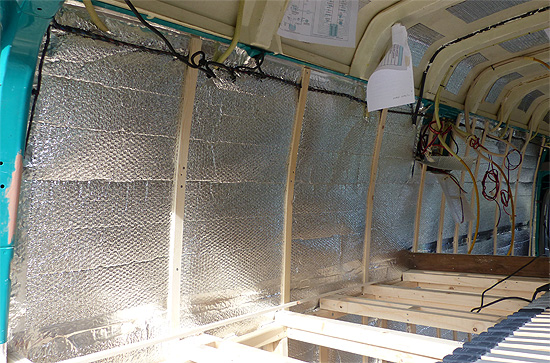
We use foil-faced bubble wrap as a vapor barrier along the walls and ceiling. We covered whole wall, without leaving any metal visible. Every seam, we sealed with reflective tape. We also used this reflective tape to extend the vapor barrier from under the plywood on the floor, so we could also completely seal the bottom of the bubble wrap.
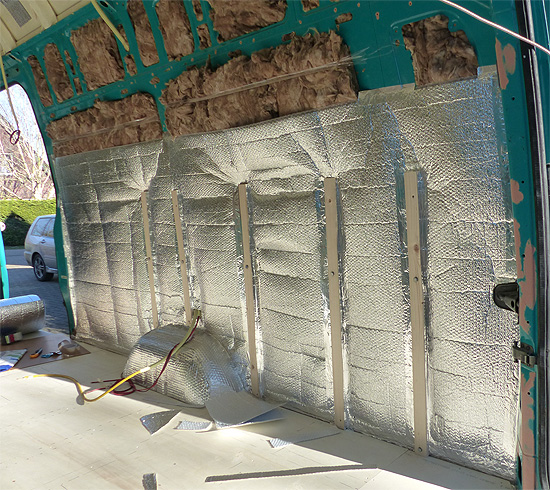
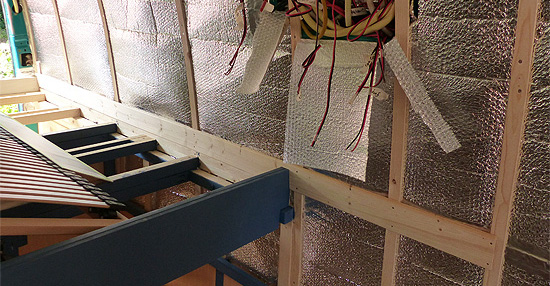
The vertical wooden battens you see on the wall will be forming the base of our double bed. We'll be publishing more about the construction of the bed on another page.
We measured the bottom half of the bubble wrap from the floor up. The top half we measured from the edge of the future ceiling. We cut the top half to size leaving about a 20 cm overlap and sealed the seam with reflective tape.
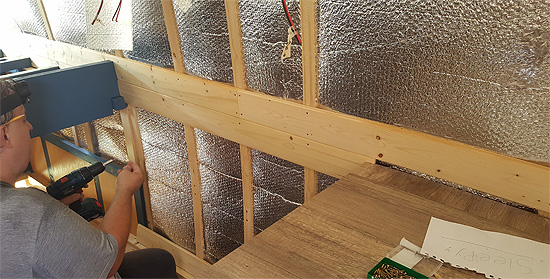
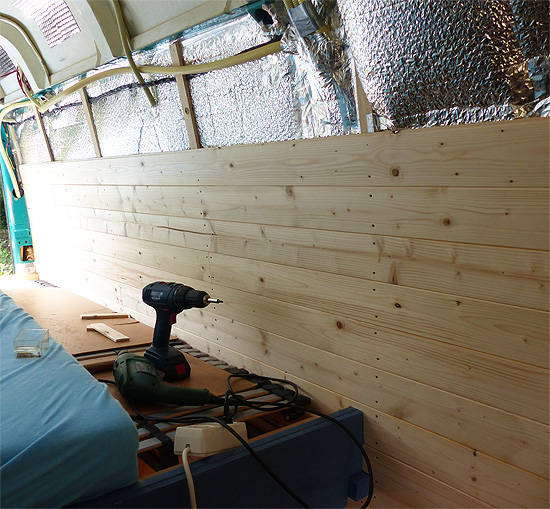
We want to put wooden siding on the walls. To attach these to we choose to use small wooden slats, that we screwed onto the metal ribs of the walls with self-tapping screws. We drilled 3mm holes in the slats so they wouldn't split when we put the screw in. This also secures the foil-faced bubble wrap to the walls at the same time.
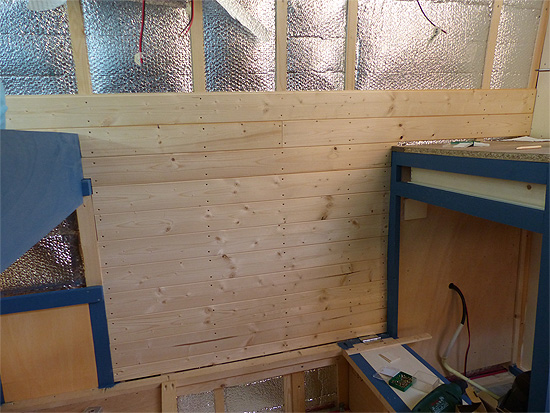
Then we put the 7 mm wooden siding in place, the thinnest we could find. As a guideline we used the base of our double bed and started working from there. We first worked from top (aka the middle of the wall) to bottom. Next we worked from bottom (again the middle) to the top.
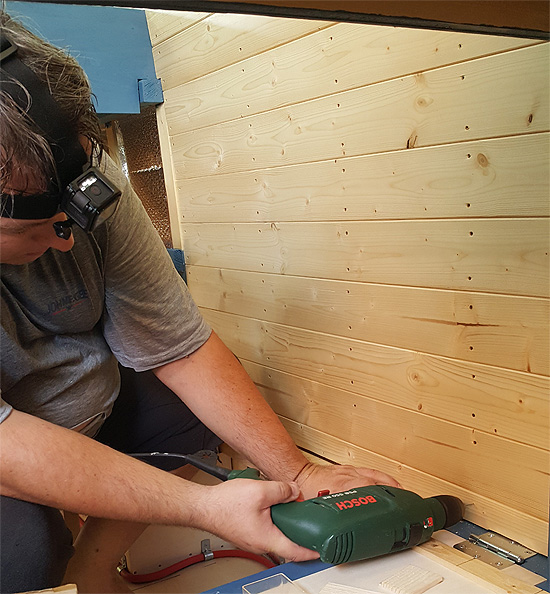
We predrilled all the 2 mm before putting the screws in. As we hoped the assembled structure turned out to be pretty strong. Also the wooden pieces follow the slightly curved walls nicely.
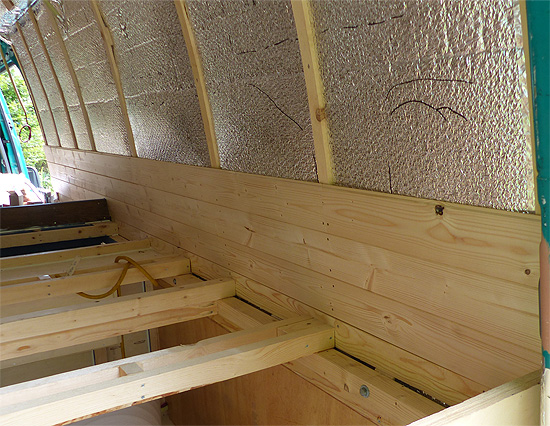
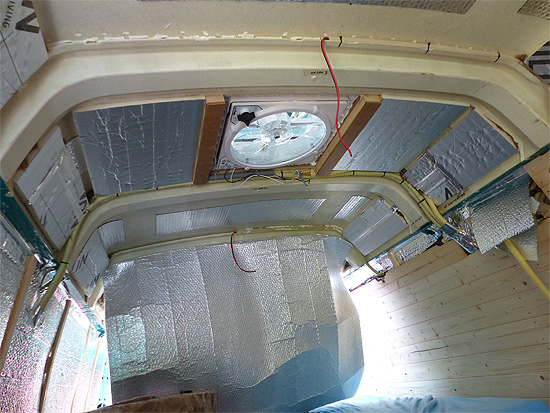
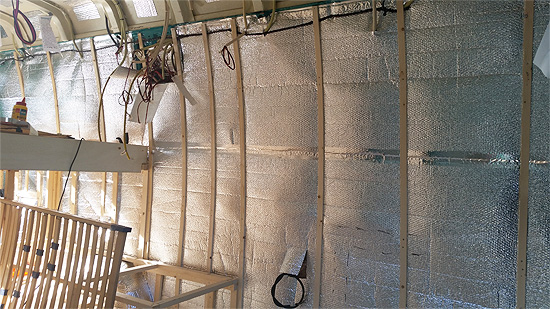
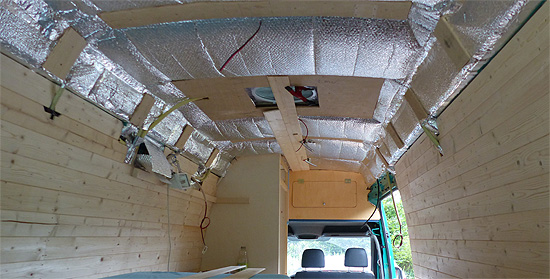
We procrastinated on insulating the ceiling. We used our last foamboard insulation around the roof fan and on the sides of our curves glassfiber roof. We had enough glass wool left from the walls, so we decided to use this for the rest of the ceiling.
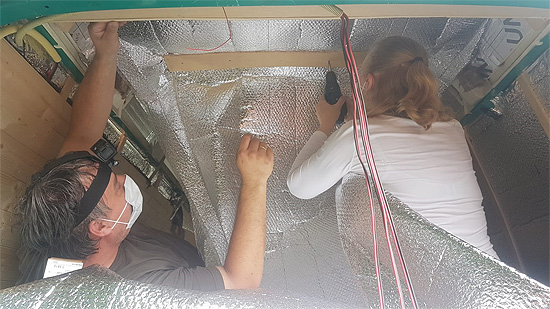
How to secure these, though? We decided to put the glass wool insulation and foil-faced bubble wrap vapor barrier in one go, including the roof battens that should hold everything in place. We wanted the vapor barrier in one piece, without seams, along the length of the van. A three piece puzzle, we had to assemble on the spot.
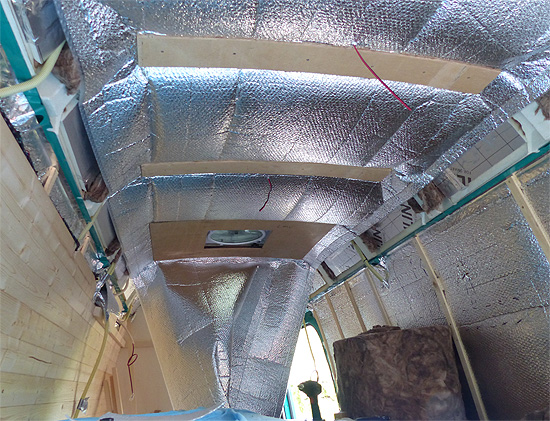
We used transparant packing tape to temporarily hold the strips of glass wool in place between the ribs of the roof. We put sealant/adhesive on the ribs and the roof battens. Then one of us pulled the vapor barrier tight and pushed it up against the rib, while simultaneously pushing the glass wool up. The other pushed the roof batten in place and secured it with self-tapping screws. Between the ribs where our roof fan was, we used a 9 mm plywood board for more strength.
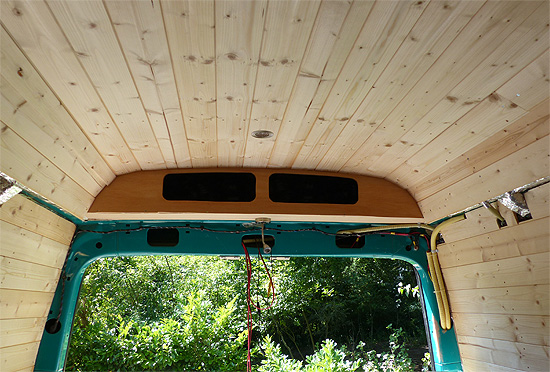
The sides of the ceiling we did in about the same way and all seams we sealed with aluminium tape. Next we put in the wooden siding on the ceiling. We actually made some measuring mistakes and the panels are slightly rotated to one side. We only found out when we were half way. As we had a holiday deadline coming, we decided we had to learn to live with this.
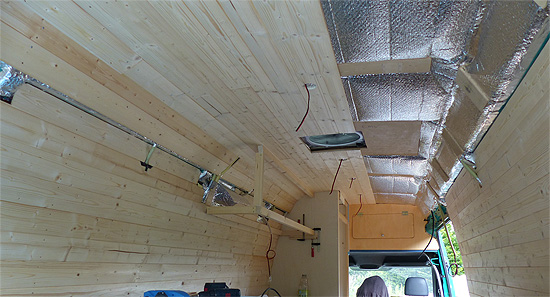
In the end we were pretty happy with the result. Even though using foam board would have been easier, our method also worked fine.