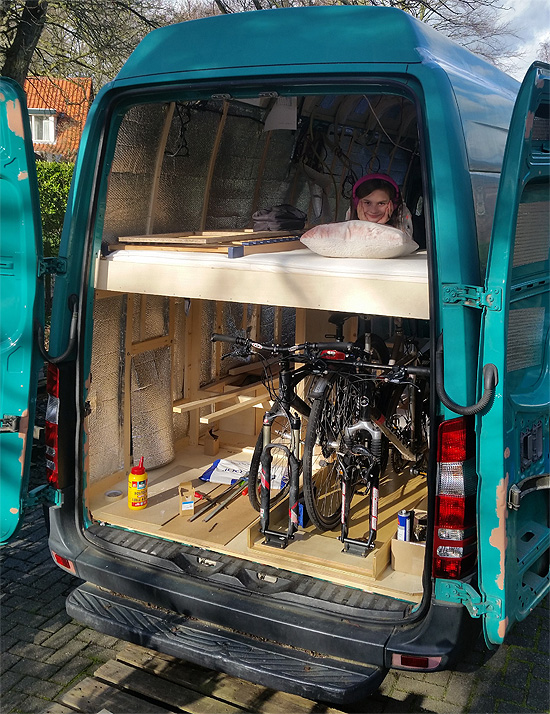
This safe and dry storage for our bikes makes mountainbiking easy.
Also check out our video about building and installing our bike slide.
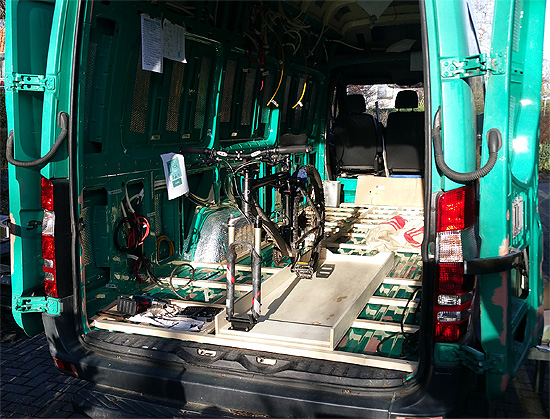
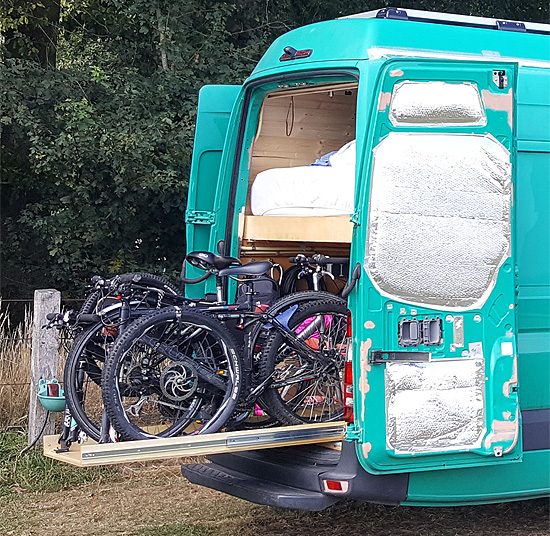
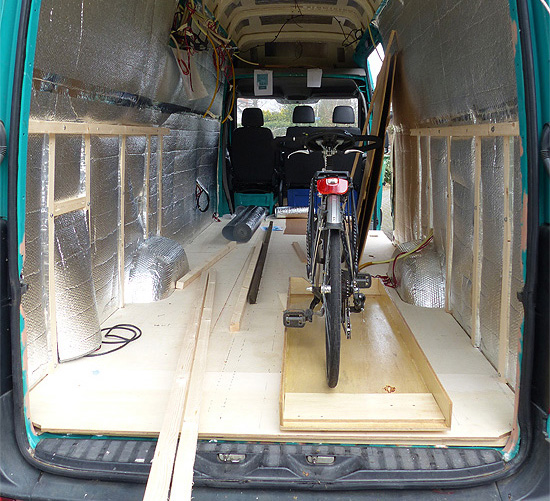
The most defining design feature of our van is to store our bikes in the "garage" under the double bed on a bike slide. It determined the type of van we bought and it effected the majority of design choices in the interior. It determined the height of the bed and where we put the dividing wall between garage and living area.
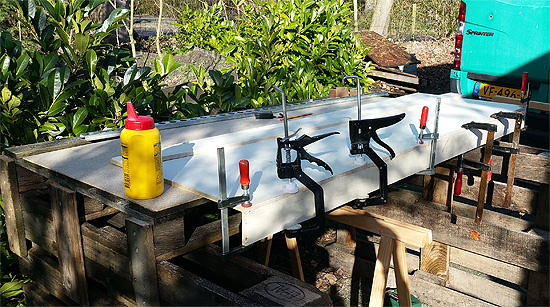
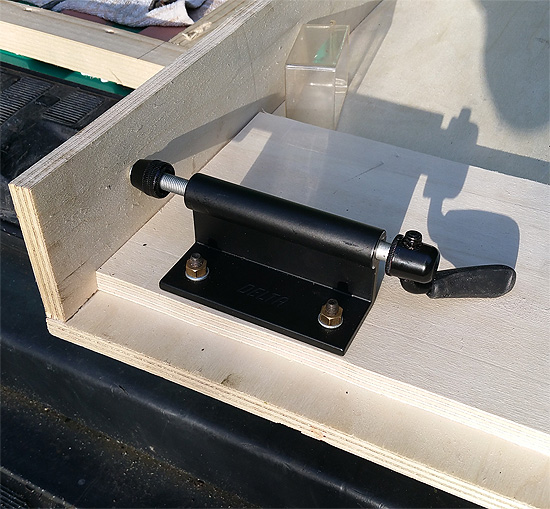
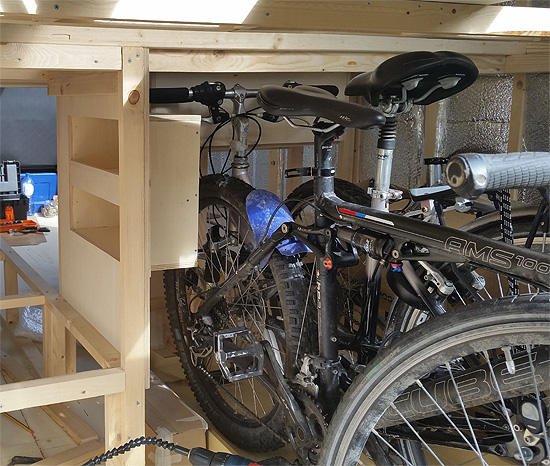
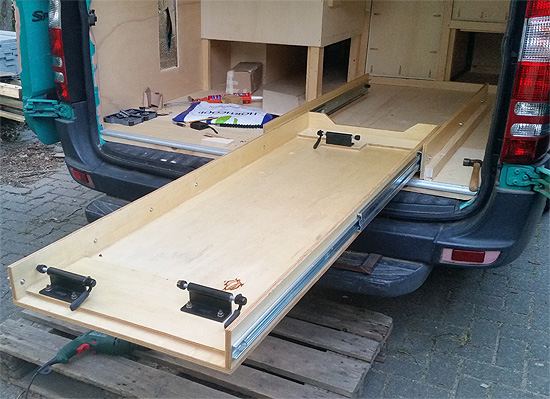
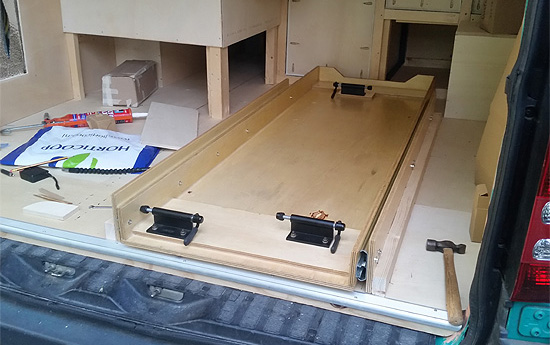
We designed the bikeslide to hold three bikes, using three Delta Bike Hitches with a 9 mm Quick release. We used 12 mm plywood. Under the Bike Hitches we put an extra sheet of plywood for strength.
We based our design on that of BCPOV, Far Out Ride and the Single Track Sampler. Be sure to check their channels and websites. Especially Far Out Ride is a superb resource four converting a van into a camper.
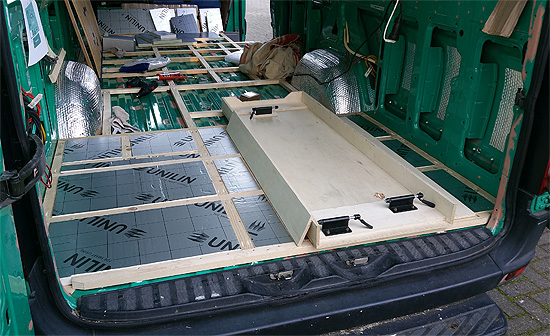
Because the bike slide is such a pivotal project in our van build, we did a lot of test fittings in every stage of construction. We absolutely had to get this right. We basically built our bed around the bike storage.
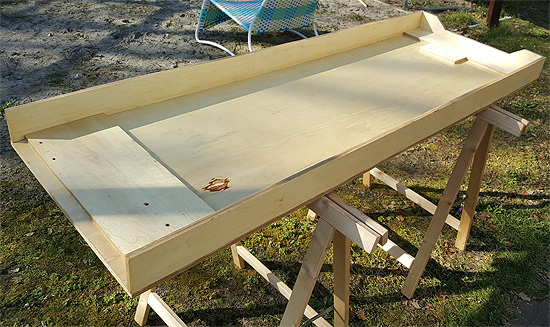
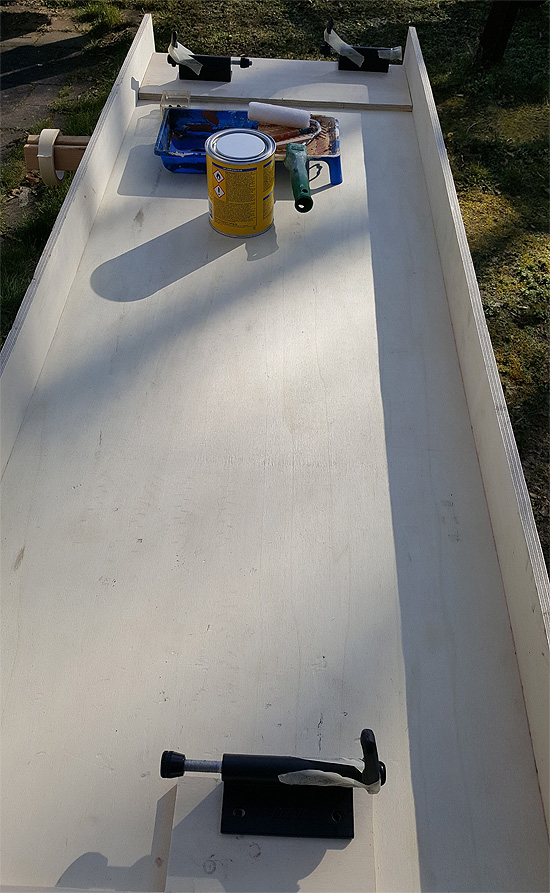
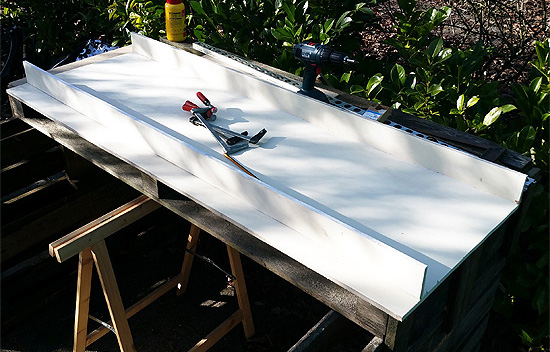
We painted the bike slide in three layers of spar (marine) varnish, because it needs to be able to hold wet and muddy bikes without a problem.
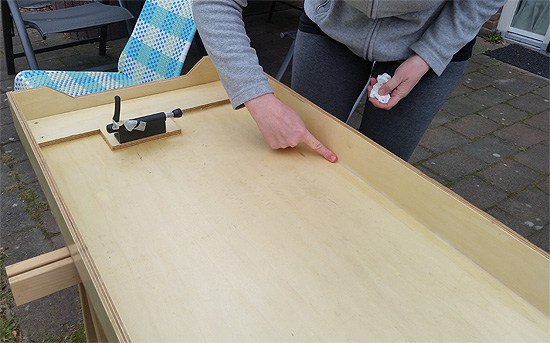
To be sure we added an extra layer of silicon sealant along the inside edges of the tray.
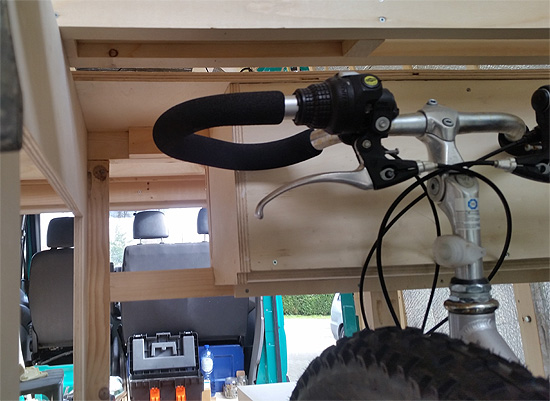
As you see in the picture below, we are now have the vertical battens in place to build our bed on. Especially getting the clearance above the bikes in the bikeslide is the most important thing to determine the height of our bed.
After every step building the bed we double checked the fitting of the bike slide. Only after we were sure everything still fit we went on to the next step. More about building the bed further on!
Precisely where there were no bikeparts in the way we built extra storage cabinets. One for our daughters single bed. The other above our table in the living area.
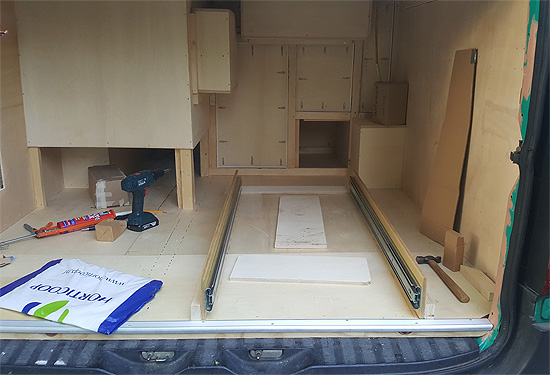
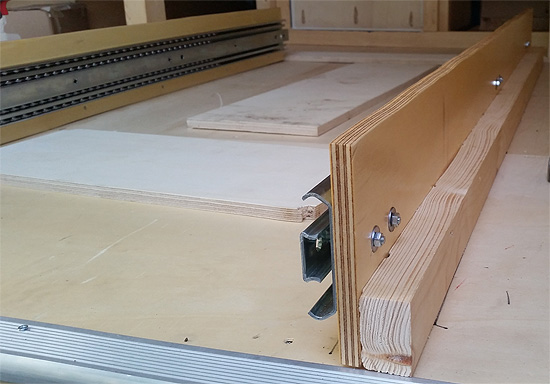
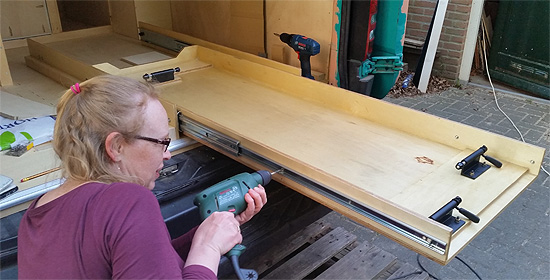
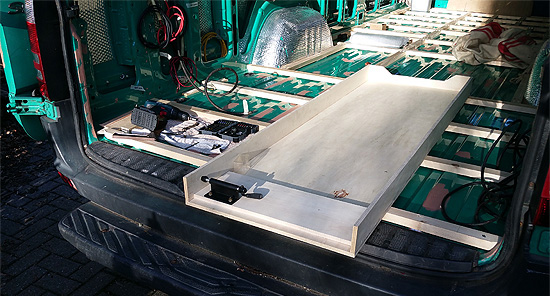
As soon as the bed was built (see here) we finally dared to install the bike slide. We used Thomas Regout Drawer Slides Titan D 1200mm with a capacity of 95 kg.
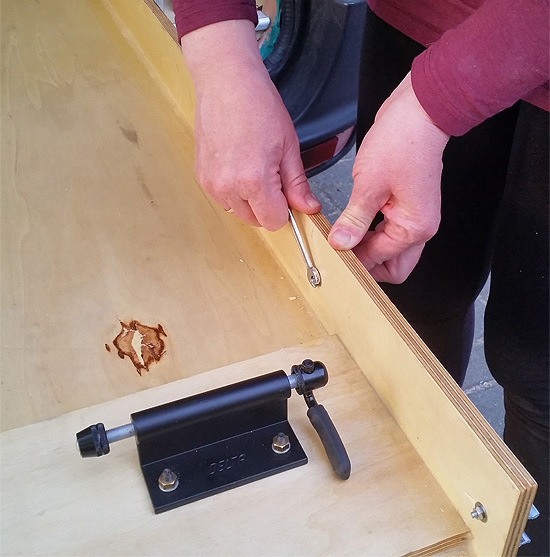
It was our first time building a drawer like this, so attaching the tray to the drawer slides was a bit of a puzzle at first, but it turned out to be almost easy. Follow the instruction in the manual and use the factory made holes. We used nuts and bolts to secure the tray to the slide.
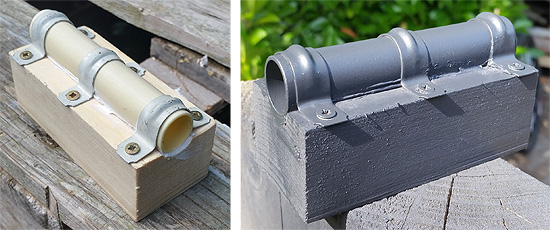
On our first trip I wrecked myself on the mountainbike climbs and I wrecked my bike on the descents. So I had no choice to buy a new mountainbike. My new bike had a thru axle instead of a 9mm quick release, so I had to adjust the bike slide slightly.
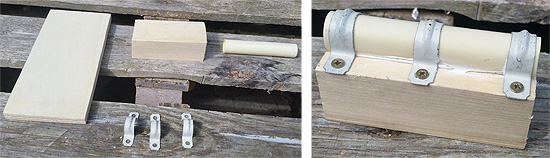
I decided to make a DIY bike hitch, using a left over piece of wood, an electrical tube that turned out to fit the thru axle exactly and three metal clamps. I glued the tube in place before securing it with the clamps and I spray painted in a dark grey color. It worked like a charm for now. We'll see how long this lasts.
All in all we are very happy with the result. We have a spacious garage, we can store our mountainbike in safely.
Also check out our video about building and installing our bike slide.